Contributor guide
Protocols and recipes are written in reStructuredText, a lightweight markup language that allows us to use plain text to describe relatively complicated intent, letting us make tables, cross-links between different files, image inclusion, and so on.
The Python package Sphinx is used to automatically take this information and make a searchable website, in addition to a printable PDF version of all of the protocols and recipes, available here.
If you want to make small edits or prefer the browser interface, you can skip all local setup and go directly to Online editing through Github.
If you already are familiar with text editors and have an editing/programming environment already setup, you can go directly to Local building.
Local environment setup
To locally build the protocols documentation, you will need to have a text editor of your choice and a local install of Python. To contribute your changes, you will need access to git as well.
Text editor
Unlike a what-you-see-is-what-you-get (WYSIWYG) editor like Word, a (plain) text editor is used for editing markup and programming languages.
Note
Integrated development environments (IDEs) such as MATLAB, RStudio, TeXStudio, and others typically have a text editor integrated with debugging and other tools. These are helpful, but are often single-purpose. Having a text editor customized to your liking is especially helpful when switching between many languages or if extra customization is desired.
There are many options available:
Built-in editors: Every major OS comes pre-installed with a plain text editor. Windows has notepad, Mac OSX has TextEdit (while this defaults to a rich-text editor, it can also be used as a plain-text editor), and most Linux distros have vi or GEdit.
Terminal-based editors: nano is a basic editor, whereas vim and emacs are extraordinarily customizable.
Standalone editors: These editors can be customized to be nearly IDE-like. On Windows, there is the venerable Notepad++. More recently, there are the commonly used editors Sublime Text, Atom, and VS Code.
Choice of editor is largely a personal preference. If you are doing limited plain-text editing, the built-in editors may be sufficient. Becoming familiar with one of the terminal-based editors is useful when working on remote compute clusters and servers.
If you are looking for a recommendation, VS Code is an excellent, relatively lightweight text editor with plenty of helpful extensions.
Tip
Using a modern text editor is very helpful when working with markup languages such as reStructuredText, Markdown, and LaTeX, as they often have support for live document preview, intelligent spell-check (ignoring programming terms as mis-spelled), and git support (no need to use the git command line or GUI app).
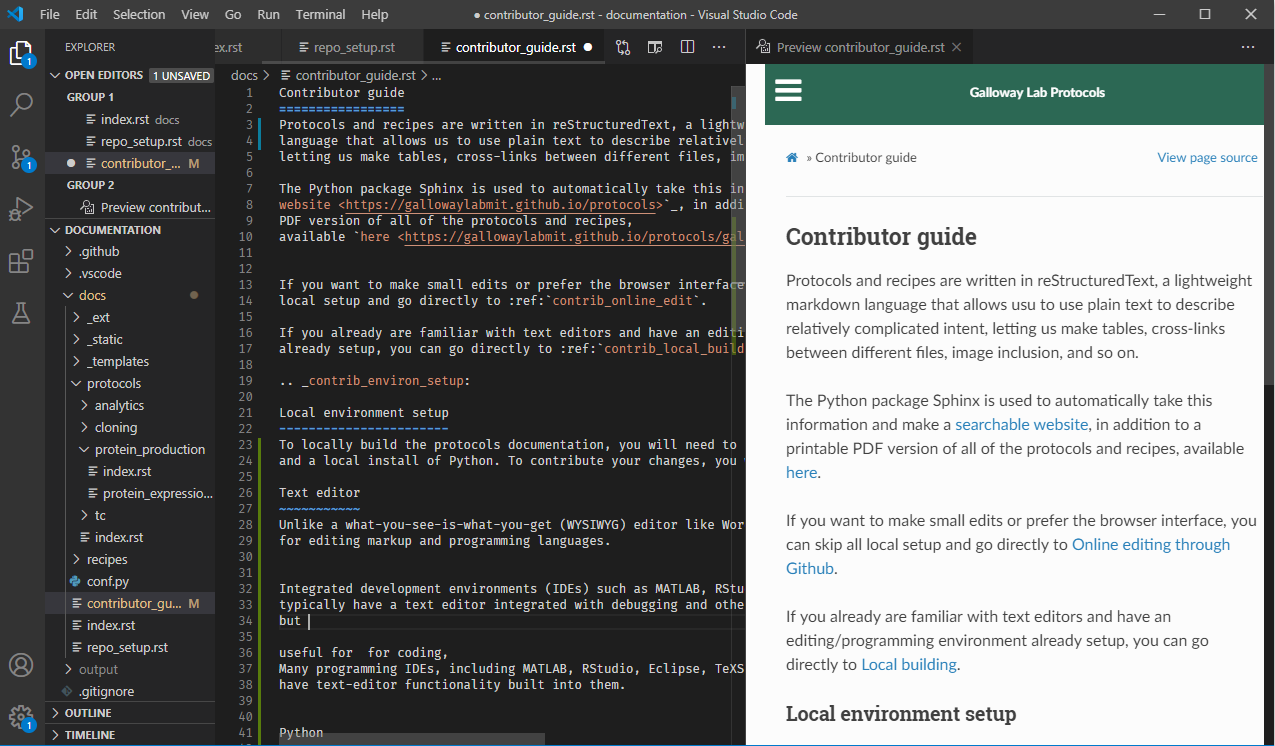
As an example, this document was written in VSCode, with the Python and reStructuredText extensions installed:
git
We use git to manage version history, simultaneous editing, and other features. There are several
excellent tutorials elsewhere that explain how to use git.
If you don’t have git, you can install it from here, and install a GUI tool if you wish (such as the
standalone Github Desktop, or using one built-in to your text editor).
Once you have git installed, you should clone the protocols repository. For any Github repository, you can find the clone
URL by clicking the green “code” button:
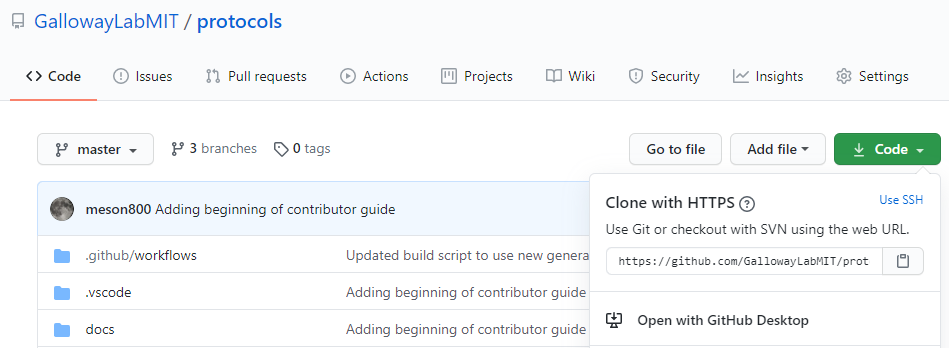
In the case of this repository, the HTTPS clone URL is https://github.com/GallowayLabMIT/protocols.git.
If you access Github using ssh keys, the SSH clone URL is
git@github.com:GallowayLabMIT/protocols.git.
The published version of the website uses the default latest branch, so push to this branch to update the website.
Python/Sphinx setup
Sphinx is used to create the rendered website and PDF. Sphinx relies on a Python version at least as new as Python 3.5.
If you do not already have a working Python version >= 3.5, use the standard Python installer. Anaconda can also be used, but generally the standard Python installer is preferred.
For standardization purposes, the Python packages required to build the website is specified in a requirements.txt file.
This means that we can use a virtual environment to reproducibly build the website.
To start, we need to make a virtual environment. We can do this using the venv Python module. The last argument is the name
of the virtual environment: here we give it the customary name env but you can choose anything. From the root of the repository
(e.g. the folder containing README.md) create the environment. This only needs to be performed once! If weird package
errors happen later, we can always just delete the env folder and recreate it.
$ python -m venv env  # On Windows, most Linuxes
$ python3 -m venv env # On modern MacOS
We now need to activate the environment. The syntax is slightly different between Powershell (on Windows) and bash/zsh (Linux, MacOS). This typically has to be done every time you open a new terminal or when you switch between projects with different virtual environments.
$ source env/bin/activate # On MacOS, Linux
> .\env\Scripts\activate # On Windows
Now that the environment has been activated, any Python changes we do (installing packages, etc) will only affect this environment. We install all of the necessary build requirements by doing:
$ pip install -r requirements.txt
From now on, you just need to follow the virtual environment activation step.
Potential Version Issues
You may run into problems with requirement versions being incompatible with your computer’s versions. In this case, you should delete all version information from requirements (control + f “==.*” and delete). This will automatically install the most up-to-date versions of the packages. After successful installation, freeze these versions by doing:
$ pip freeze > requirements.txt
Standard workflow
A normal workflow to update a protocol would be:
Do a
git pullto receive any updated changes from others.Make changes to the desired files, such as adding pictures, writing new text, and so on.
Locally build the protocols website, checking for any errors (e.g. incorrect reStructuredText). Before running the local build, you will likely have to create/activate your virtual environment as listed in the Python setup section.
When there are no build errors, add the files and create a commit describing your changes.
Do a
git pushto update the website.
Common problems
The website isn’t updating!
When you push your changes to Github, you start a remote build that does a full build of the project. This can take about two minutes.
If the website still hasn’t updated after two minutes, there is likely a (fatal) build error. Check to make sure that there are no errors printed when you locally build the website! You can also check the remote build log through Github actions.
If there are no errors or warnings while building locally but the remote build still fails, something strange is happening.
I got a push rejected error!
If you run
git pushand get an error like:$ git push Pushing to https://github.com/GallowayLabMIT/protocols.git ! [rejected] latest -> latest (non-fast-forward) error: failed to push some refs to 'https://github.com/GallowayLabMIT/protocols.git' hint: Updates were rejected because the tip of your current branch is behind hint: its remote counterpart. Merge the remote changes (e.g. 'git pull') hint: before pushing again. hint: See the 'Note about fast-forwards' in 'git push --help' for details.
this means that someone else pushed changes to the same branch while you were making edits. This is not a problem, git is just warning you that you first need to merge their changes first. As suggested by the hint, the solution is often to do
git pullagain, which will download the remote changes and attempt to auto-merge them. If there are no errors shown when you rungit pull, the merge happened automatically and you can re-push.I got a merge conflict!
If another person has edited the same part of a protocol file at the same time you edited, you may get a merge conflict when you try to pull in the remote changes. This looks like this:
$ git pull
From https://github.com/GallowayLabMIT/protocols.git
* branch            latest -> latest
Auto-merging contributor_guide.rst
CONFLICT (content): Merge conflict in contributor_guide.rst
Automatic merge failed; fix conflicts and then commit the result.
This error means that
gitisn’t sure how to merge two sets of changes together. Instead, it needs the user to choose. For every conflicting file, search for the conflict markers marked with<<<<<<<and>>>>>>>symbols, and decide how to combine the two versions. This probably involves talking with the other person who edited the protocol! An example merge conflict is:Text before the merge conflict. <<<<<<<HEAD The conflict region! Up here is your version of the files. ======= Below the equal signs is whatever the remote version of this part of the file is. >>>>>>>a21ca24 (the git commit identifier) Text after the merge conflict
It’s up to you to decide how to combine the two versions of the file. When you are done editing (making sure to remove the conflict markers!), you need to
git addthe file to mark that you resolved the merge conflict, thengit commitwhen you are done handling merge conflicts. You are then ready togit push!
Local building
The documentation can be built by calling the build.py script at the base of this repository.
Normally, this means opening a terminal window, navigating to the repository, and calling:
python build.py
This will attempt to build both the website only. If you have a local LaTeX install, then you can build the PDF locally with:
python build.py --latex
These build functions build the website in the folder output/html. If you want to
view your locally built website, open the file output/html/index.html.
Local previewing
If using VS Code with the reStructuredText plugin installed, you can use the instant previewer to view
the HTML version as it recompiles on the fly. To show the preview, open the Command palette,
accessible through Control-Shift-P or Command-Shift-P, and run Esbonio: Preview Documentation in Split Window.
If local previewing fails, you need to check a few things:
Make sure that the reStructuredText language server is installed in your virtual environment. Run
pip install -U esbonio.Make sure that VSCode is using your virtual environment. To check, open the command palette and go to
Python: Select Interpreterand make sure that the virtual environment Python is selected.Make sure the reStructuredText plugin is using Sphinx, not docutils. On the left side of the statusbar, you should see
Sphinx: protocols/docs/conf.py. If you seeUse docutils, click the label and switch to using Sphinx.If you run into
esboniostartup errors, check for the existence of a.vscode/settings.jsonfile. If any lines are marked with errors (yellow underline), delete them.
In case of build errors
In the case of strange build errors that seem to be because the output directory has been corrupted, you can close any program that might be using the output (a common one might be Adobe Acrobat, with the generated PDF open) and run:
python build.by --force-rebuild
Adding this flag deletes the output folder and recreates it. You can also do this manually
to recreate “rebuild” behavior.
Online editing through Github
When editing directly through the Github website, you won’t be able to check for Sphinx build errors or fully preview the generated PDF and website until you commit to the branch. For this reason, doing local builds is preferred.
To create a new file directly through Github, navigate to the folder you want to add the file, and click the Add file dropdown on the right:

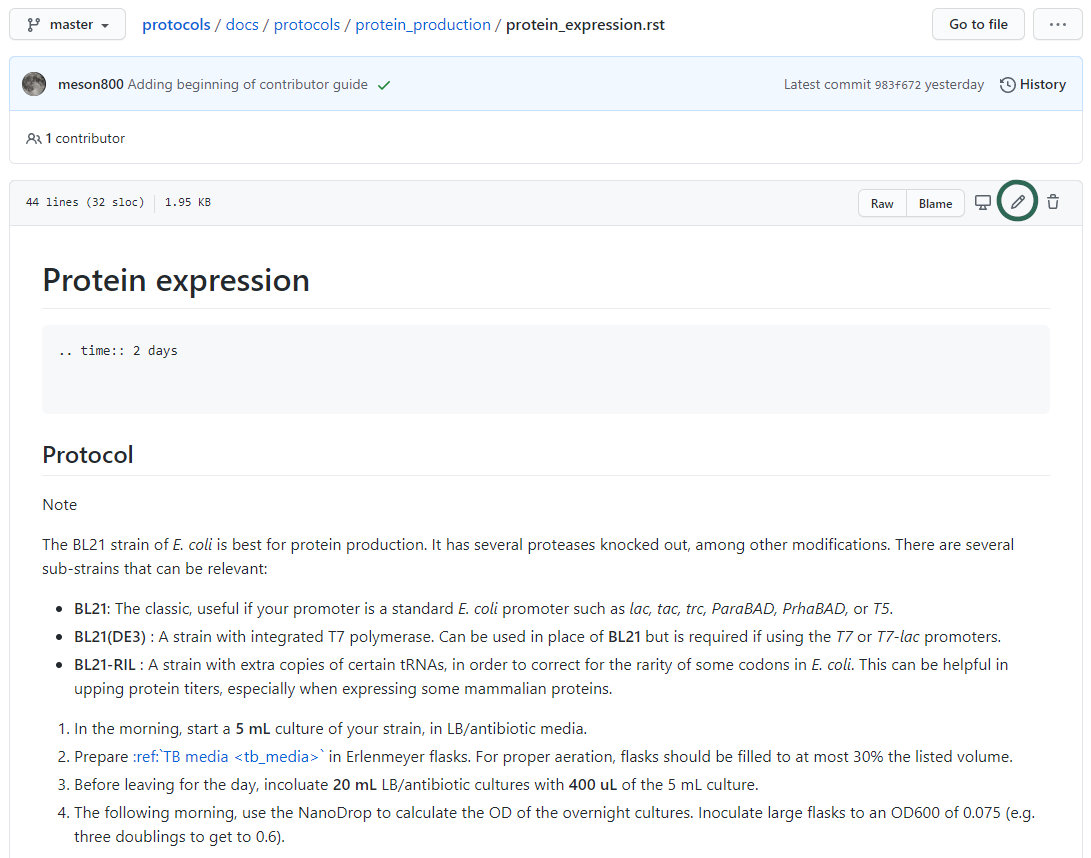
To edit through Github, navigate to the file you want to edit, then click the pencil in the upper right of the file view:
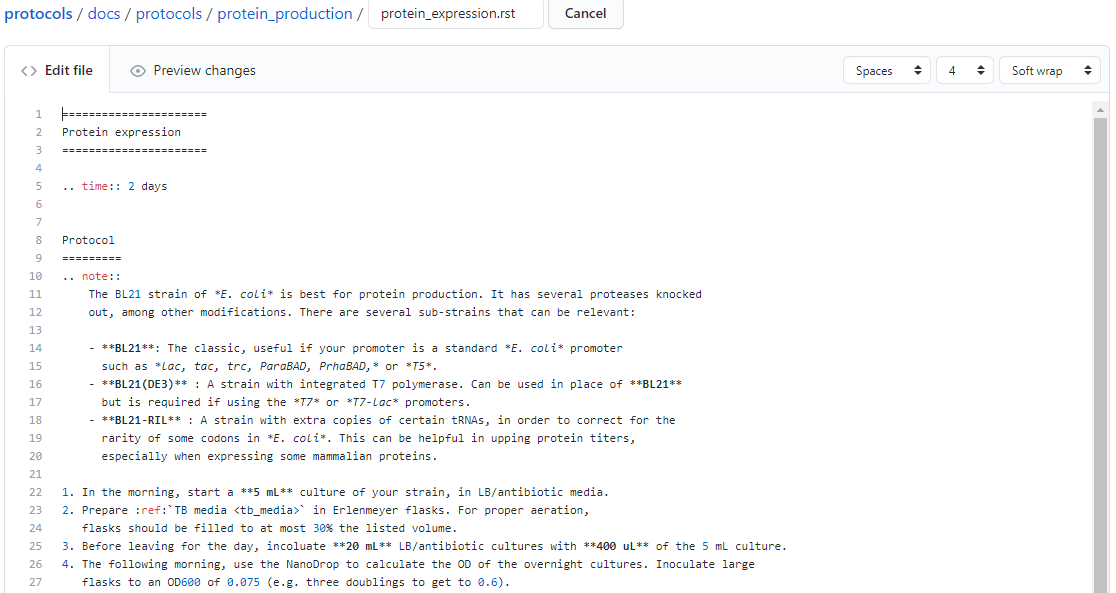
Note
While Github does render a preview of what the reStructuredText will look like,
it does not preview how Sphinx will render the final website. For example, we can see in the
above image that the Github preview does not show the custom time directive, and it
does not show the proper link destination for the cross-referenced recipe.
In general, the Github preview will give you a good idea of what tables/lists/other text will appear, but it will not properly render all Sphinx-enabled markup.
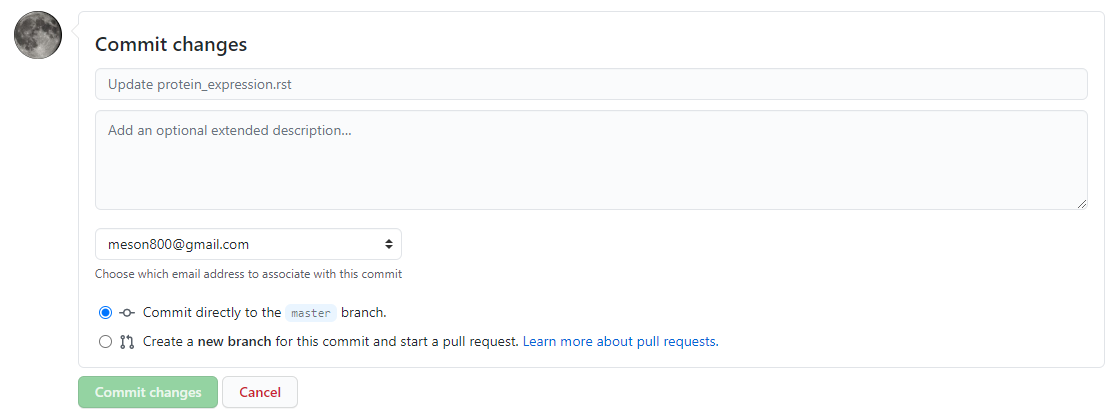
This will open an editor window:
After you are done editing, add a commit message describing your change, and (normally), commit
directly to the latest branch. If there is need for further discussion of an added protcol,
creating a secondary branch + pull request could be helpful.
Note
Make sure you make the commit message more descriptive than the default “Update <filename>” message!
Repository layout
All of the relevant documentation files to edit are stored in the docs folder.
Each subdirectory is included as its own sub-level in the table of contents. This
hierarchy is derived from the index.rst that is in each folder. Generally, each
of these index.rst files have the following content; if you create a new
subdirectory you should generally add this as the index.rst file:
============
Section name
============

.. toctree::
  :maxdepth: 2
  :glob:

  */index
  *
Here, glob means that the * is expanded as a wildcard. The first wildcard search,
*/index means “include all subdirectories beneath this directory”. The
second wildcard search * means “include all other .rst files in this directory.
The current subdirectory layout looks like:
docs
├─protocols
│ ├─analytics
│ ├─cloning
│ ├─protein_production
│ └─tc
└─recipes
  ├─bacteria
  └─tc
The .github folder contains the continuous integration script responsible for
updating the website on every push.
Basics of reStructuredText
reStructuredText (RST) is a lightweight markup language. This means that it is not as cumbersome as languages like HTML and LaTeX, but still has enough power to make nice looking documents.
There is an excellent RST primer and reference here which should be your primary reference, but here we will cover some of the basics.
One nice feature of the generated website is the ability to view the page source for each page. If there is a protocol that uses some RST feature that you want to replicate, on the desktop version of the website (e.g. not mobile), you can click the “View page source” button in the upper right of any page on the website to see the RST code that generated that page. That includes this page, so check out this page’s source to see how this guide was written!
Note
There are several whitespace-dependent features of RST. This means that you should configure your text editor to insert spaces instead of tabs when you hit the tab button (this is also true if you are programming in whitespace-dependent languages like Python).
Without wading too deeply into the holy war, tabs vs spaces does not mean the difference between pressing the space bar vs hitting tab for indentation, it refers to what character actually gets inserted into the document when you press the tab button.
Long story short, if your text editor inserts literal tab characters, there is possible inconsistency between tools and editors; some may display a single tab character as the width of two spaces, some as the width of four spaces, and so on. This causes problems. If you set your editor to insert spaces, you still hit tab, but the editor inserts some fixed number of spaces, typically four.
This setting will depend per editor. In VS code for example, you don’t have to do anything; it defaults to inserting spaces, but the option looks like this:

Simple markup
You can add headers by surrounding the header with equal signs, hyphens, tildes, and other special characters.
Example
Section header
==============

Subsection header
-----------------
Use single asterisks to italicize text. Use double asterisks to bold text. Wrapping double backticks around text renders it in monospace.
Example
*italics* and **bold** and ``monospaced``.
renders as
italics and bold and monospaced.
You can make bullet lists by starting lines with * or #, and you can make numbered lists by starting lines with 1., 2., etc.
If you are nesting lists, you must surround nesting levels with blank lines.
Example
* Lab activities

  * Axe throwing
  * Pizza party
  * ?????

* Lab meme sources

  * p53
  * Cloning, so much cloning

1. Testing
2. a
3. numbered
4. list
renders as
Lab activities
Axe throwing
Pizza party
Other?
Lab meme sources
p53
Cloning, so much cloning
Testing
a
numbered
list
Explicit markup
In RST, an “explicit” block is any block that starts with ... Explicit blocks must be surrounded
on both sides by blank lines, like nested lists. This means that explicit blocks like:
Do the foo, then the bar
.. note::

  Make sure you don't do the bar, then the foo!
will not render correctly, it must be written:
Do the foo, then the bar

.. note::

  Make sure you don't do the bar, then the foo!
Admonitions
To call-out a specific part of a protocol, you can use one of the various admonitions.
This project includes the special time estimation admonition, which demonstrates the general principle. Writing:
.. time::

  2 hours
renders as
Estimated time
2 hours
Other directives (code blocks, tables, images, etc) can be fully nested inside these blocks.
Other options commonly used here are hint, important, note, tip, deprecated, and warning, which render as
Hint
Test
Important
Test
Note
Test
Tip
Test
Deprecated since version 2021.11.24: Test
Warning
Test
Code
To insert a codeblock, start an empty line with ::, followed by an indented block that will be rendered as code.
Example
The above code example of the time estimation admonition was written as:
::

  .. time::

    2 hours
Tables
See the table documentation for more details, but in brief, most of the time you can use the “simple” table layout.
In the simple table layout, you simply surround the desired table text with equal signs to set off different columns.
Example
================= ===========================
Ingredient         Amount per 1L final volume
================= ===========================
Tryptone                    12 g
Yeast extract               24 g
Glycerol                    4 mL
Deionized water             900 mL
================= ===========================
renders as
Ingredient |
Amount per 1L final volume |
|---|---|
Tryptone |
12 g |
Yeast extract |
24 g |
Glycerol |
4 mL |
Deionized water |
900 mL |
References and links
To reference a standalone hyperlink, you can just simply write it directly in the rst file, no special markup required.
If you want to add link text, use the following syntax:
Example
https://example.org or `Link text <https://example.org>`_
renders as:
If you want to specifically link to other protocols/recipes files, you use the special doc syntax:
Example
:doc:`This <contributor_guide>` is a link to this very document!
renders as:
This is a link to this very document!
as you can see, this is very similar to the external hyperlink, except it has the special :doc: before it, which tells Sphinx
that the document is included in this repository.
If you want to reference a specific subsection of a document, you can set a label and set a reference to it. This is best explained by the documentation, noting that labels that you create are global and shared across the entire repository!
Images
To include an image, you can specify it as follows. Typically, you want to align center and make the image fill the available horizontal space, so a common image call would be:
.. image:: image_location/image_filename.png
  :width: 100%
  :align: center
Math
You can write arbitrary LaTeX-formatted math by using the math directive. The math must be separated from the directive by a blank line, followed by an indented math block.
Example
.. math::

    E = mc^2
renders as