Cleaning microcentrifuges
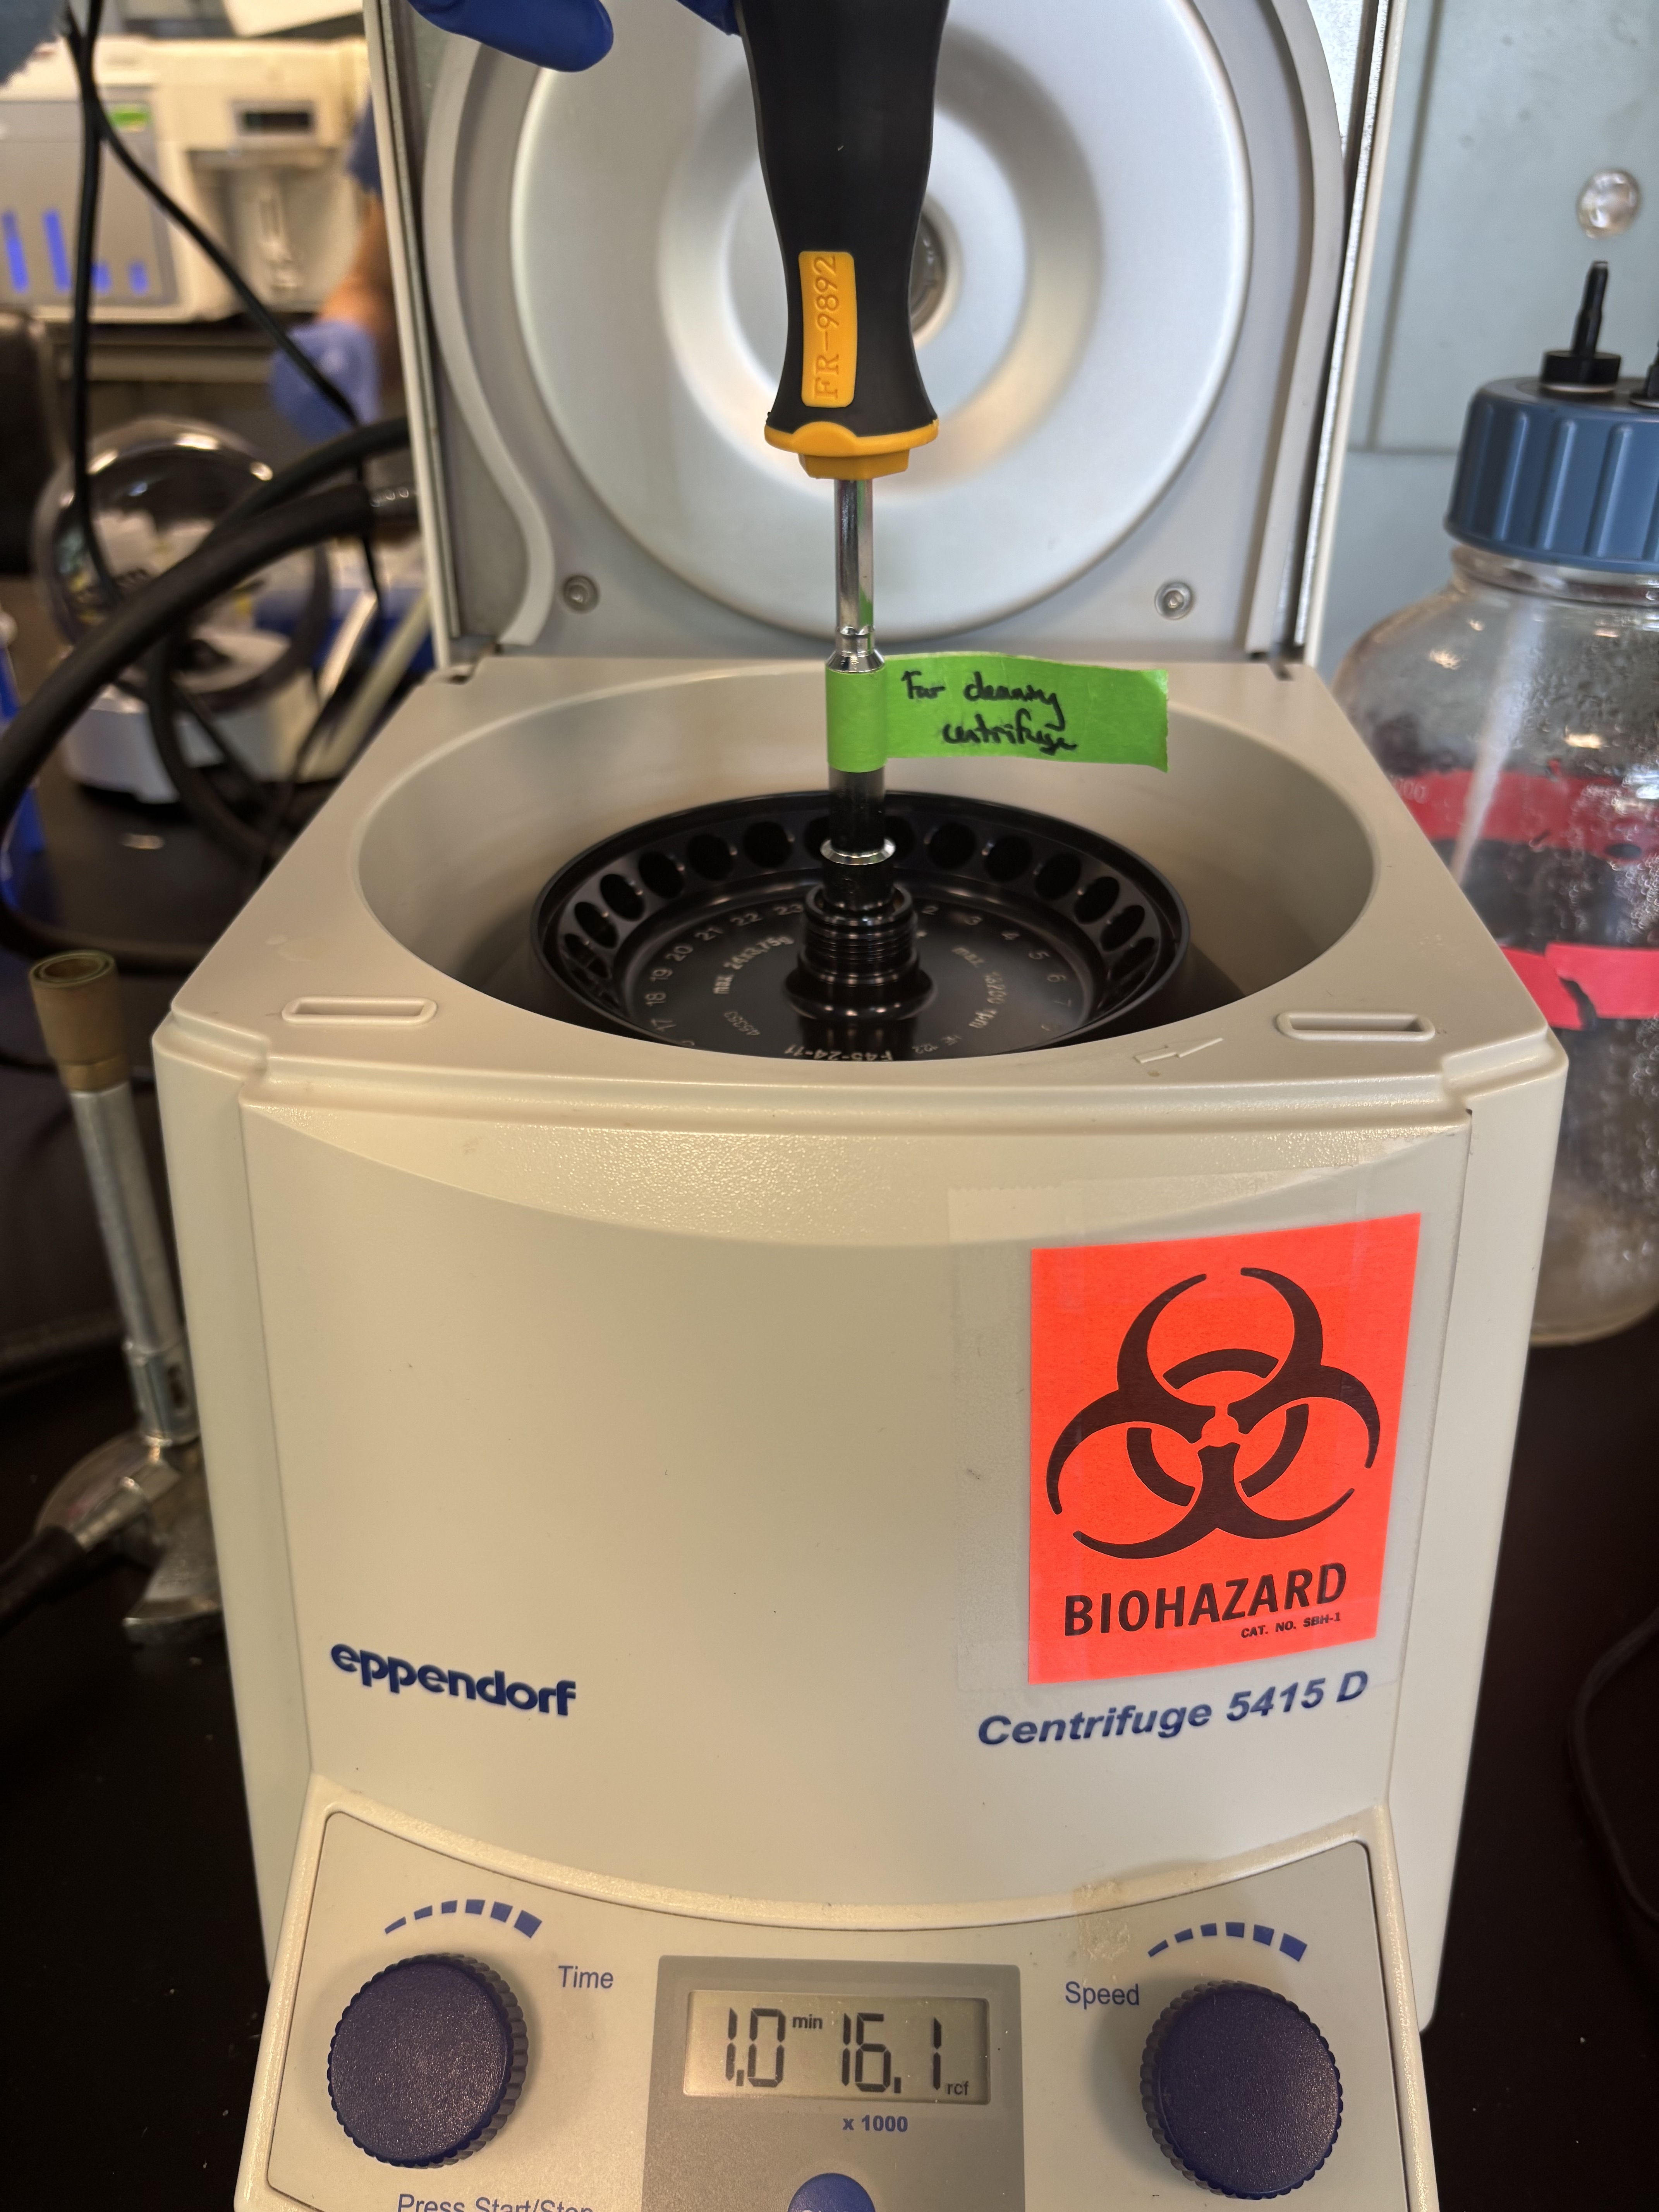
Remove the rotor from the microcentrifuge by unscrewing the center bolt that holds the rotor in place. Use the magic wrench shown below that is labeled “For Cleaning Centrifuge”.
Wipe the inner surface of the microcentrifuge with 70% ethanol to remove any built up grime.
To clean the rotor, use a squeeze bottle to add soap to each of the samples holes and scrub using the small scrub brush located on the drying rack.
After cleaning the rotor with soap and water, dry the rotor and holes using compressed air. Tubing maybe attached to any of the “Air” nozzles and inserted into the holes of the rotor to blow out any water left in the rotor.
Using 70% ethanol and paper towels, clean the groove where the rotor lid sits during normal operation. Dried salts tend to build up here.
When the rotor is clean and dry, reattach the rotor to the centrifuge base. Tighten using the magic wrench.