This protocol describes how to run ddPCR copy number variability assays on the BioRad QX200 system,
following instructions from the STRAIGHT-IN Nature Protocols paper [blanch-asensio2024].
See also this presentation from A.B.A. on the SharePoint.
The presentation above and resources from BioRad contain useful information for designing new assays.
Each assay consists of a primer set and a corresponding probe. The probes are in one of two fluorescence channels, HEX or FAM, so each
reaction can measure up to two targets. To detect copy number, one of the targets is typically a reference gene on the
genome. For human cells, we use RPP30, which has a copy number of two in normal diploid cells. However, HEK293T cells have unstable genomes
and are often aneuploid—we’ve measured the copy number for RPP30 as 2.7, but this and other genes may be unstable.
In lab, we currently have primers and probes (assays) for the following targets:
Probe
Target
HEX
RPP30 (human reference gene)
FAM
mRuby2, mScarletI
PuroR, BleoR
AmpR, pUC19 backbone
Note that the instrument runs a set of 8 reactions (1 strip of PCR tubes) at a time, so aim to run multiples of 8 reactions to optimize consumable use.
Include a negative control (e.g., unedited cells) and a positive control (e.g., cells with a known copy number of your target) in each set of reactions, especially for new assays.
Extract high-quality genomic DNA from your cells, e.g., using the Qiagen DNeasy Blood and Tissue Kit.
Nanodrop to measure concentration and confirm purity.
Obtain 20X assay mixes that include a probe and matching primer set.
We make these in 100 µL aliquots, which is enough for ~90 reactions.
They are stored in the shared ddPCR box in Olaf (-20ºC) and should be thawed on ice.
20X Assay Mix:
Component
Amount (µL)
Probe (100 µM)
5
Fwd primer (100 µM)
18
Rev primer (100 µM)
18
IDTE buffer
59
Total
100
Prepare the PCR reaction mixes for each condition on ice.
We prepare 22 µL per condition so that 20 µL can be easily loaded into the machine without bubbles.
The following table shows amounts for one reaction and for 8.8 reactions (a full set plus extra), which is useful for making a master mix for 8 samples.
The 2X ddPCR Supermix is the ddPCR Supermix for Probes (no dUTP)
from BioRad, and is stored in Sven (-20ºC).
Reaction Mix:
Component
1X
8.8X
2X ddPCR Supermix
11
96.8
20X HEX Assay
1.1
9.68
20X FAM Assay
1.1
9.68
HindIII
0.55
4.84
gDNA
3
Elga water
5.25
46.2
Total
22 µL
If making a master mix for several samples, combine 19 µL MM with 3 µL of sample gDNA.
The amount of gDNA to add to each reaction depends on the expected copy number of the gene. For low copy targets, aim to add ~100-200 ng of gDNA to each reaction.
Scale down this amount for high-copy targets (e.g., PiggyBac-integrated cargoes). Dilute gDNA samples in Elga water to 3 µL per reaction for easy math/pipetting.
Bring your reactions and supplies over to the Weiss lab, where the ddPCR machine is located.
We buy our own consumables for the instrument and store them in the Weiss lab, so you should also bring over pipettes (P200 and P20 for accuracy) and tips.
Turn on the plate sealer to allow it to come to temp. Remove the large block from the machine first.
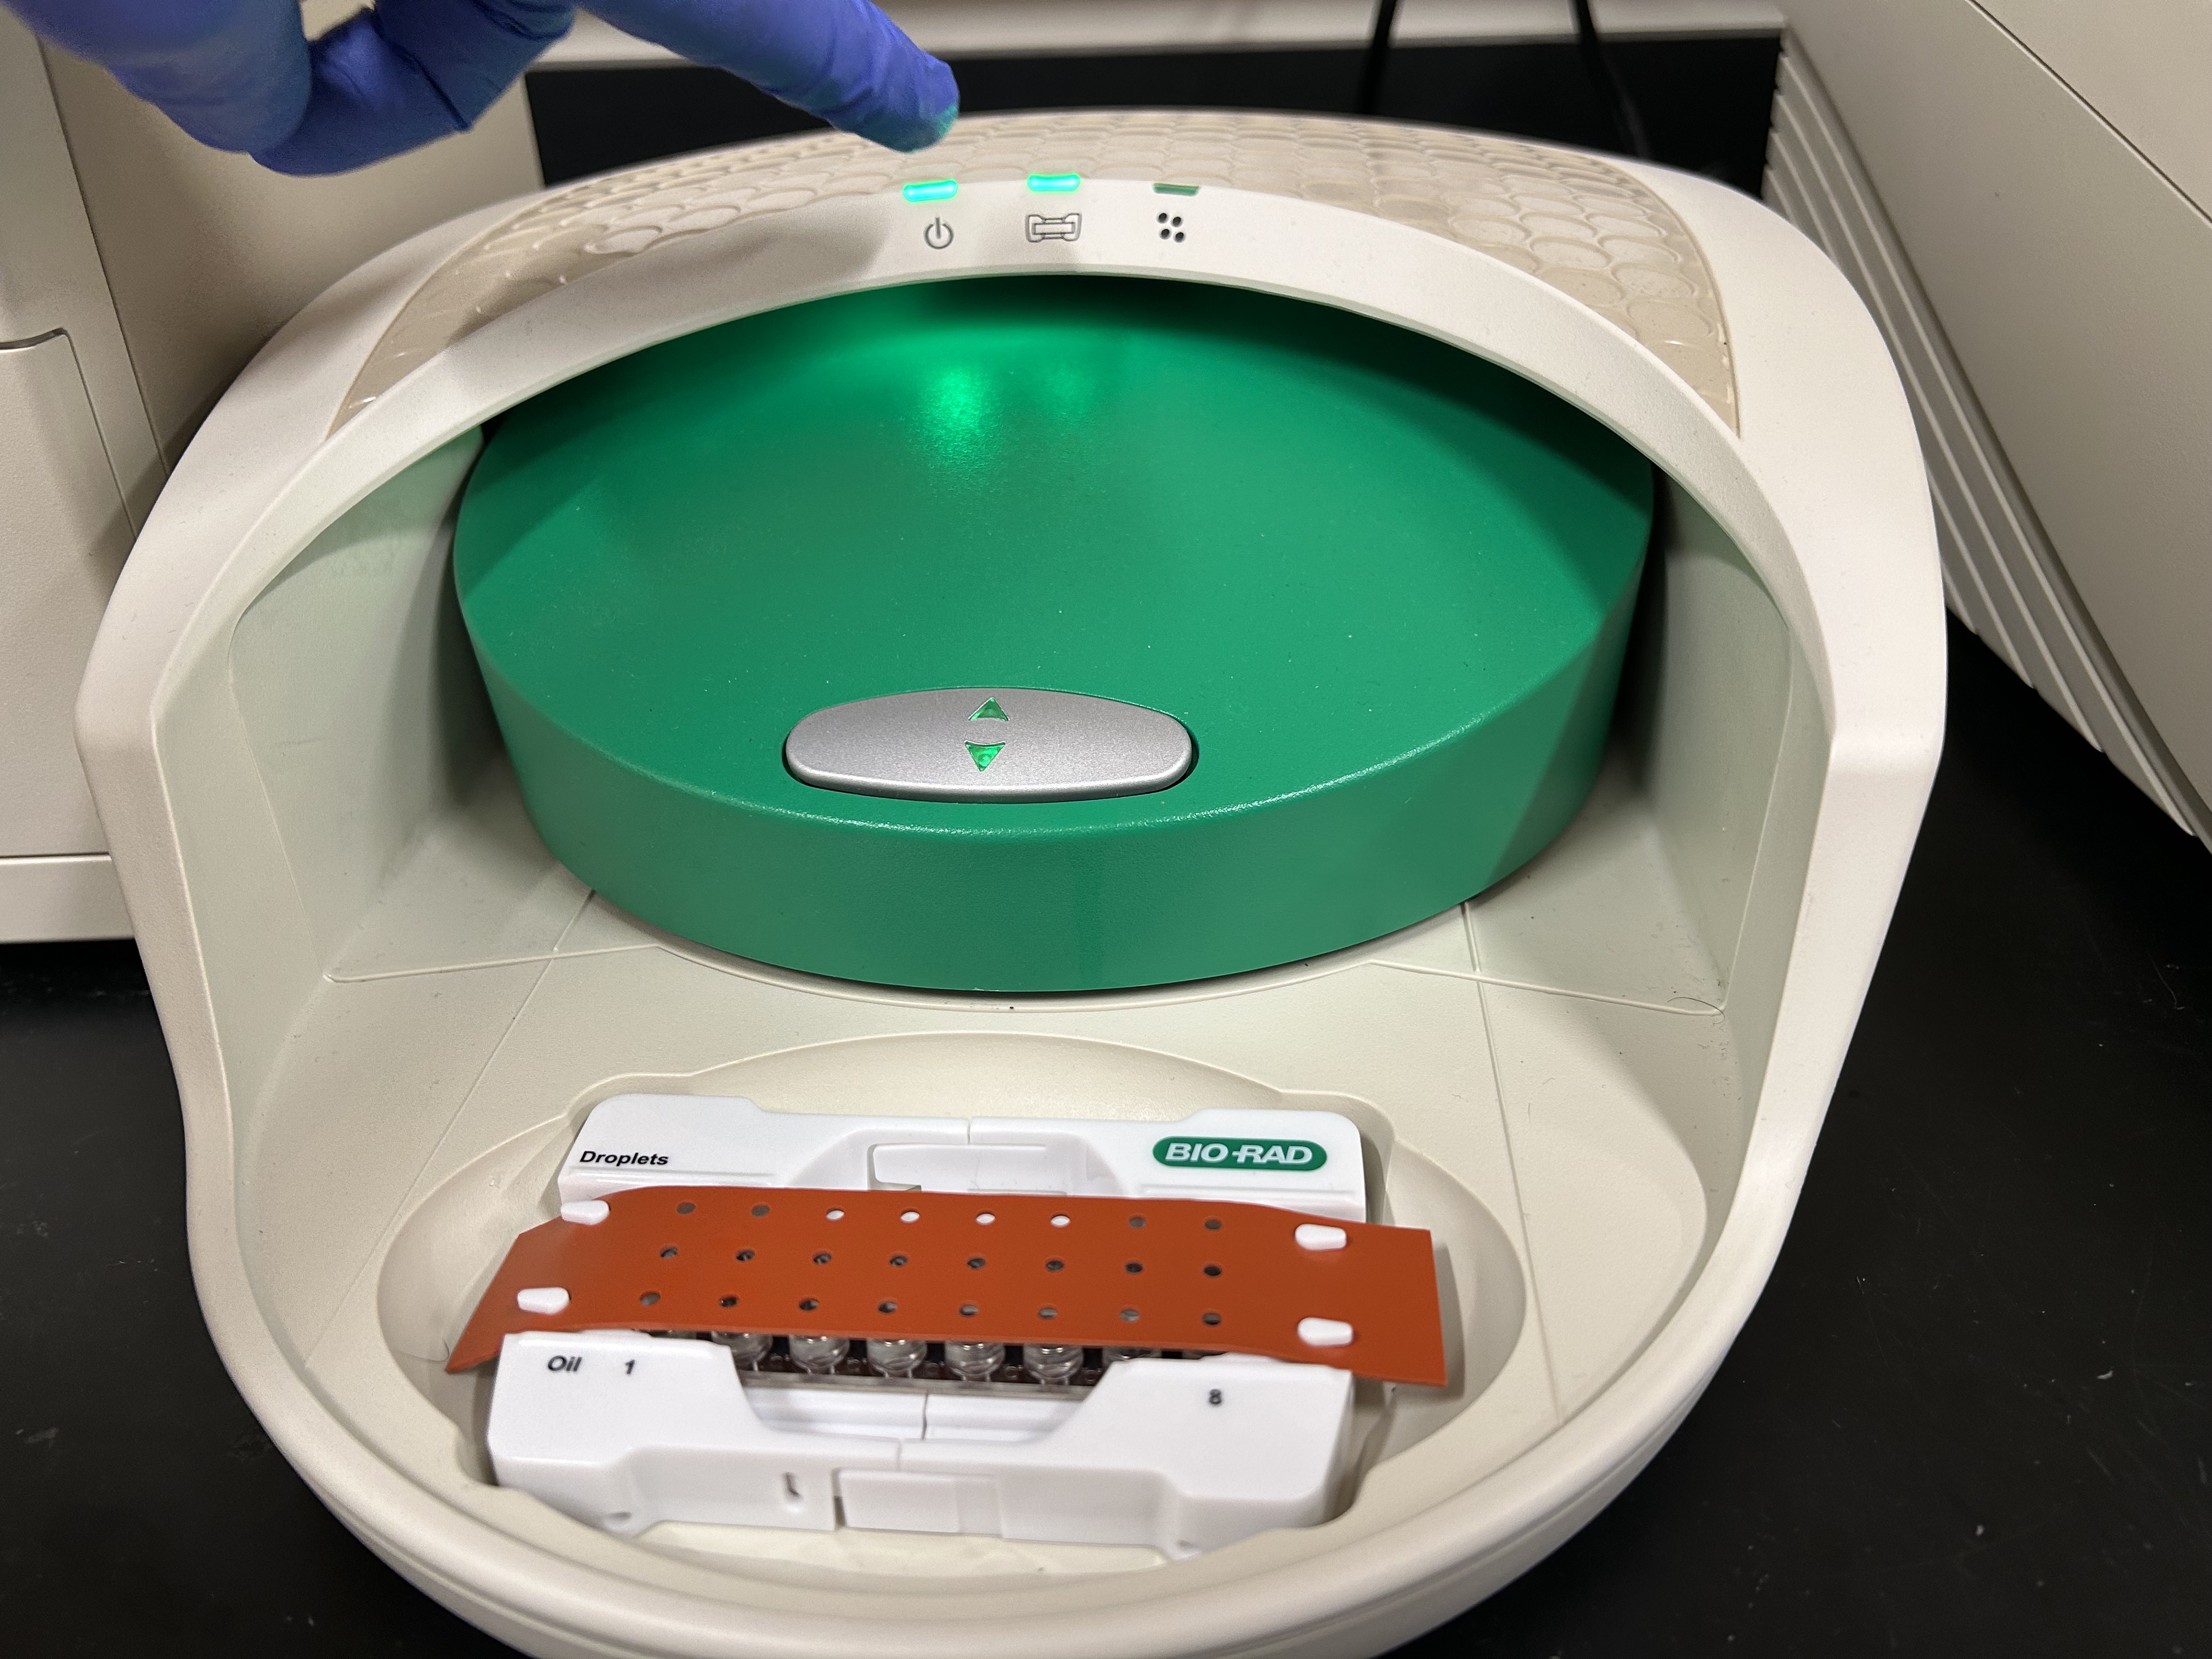
Load the cartridge for creating droplets:
Pipet 20 µL of each reaction into the wells in the middle channel of the cartridge, ensuring there are no bubbles. For unused wells, add 20 µL water.
Pipet 70 µL Droplet Generation Oil per well into the bottom channel of the cartridge. For wells corresponding to those without sample, you can add water rather than oil.
Place the cartridge into the white holder and cover it with the gasket (stretchy rust-colored material), being careful not to spill.
Load the cartridge into the QX200 Droplet Generator machine (see picture). When loaded correctly, the middle green light will turn on.
ddPCR Droplet Generator correctly loaded (middle green light) with cartridge. The cartridge (clear) is in the cartridge holder (white) and covered by a gasket (rust-colored).
Run the machine. Droplets will be generated in ~2 minutes. Wells should be cloudy if droplets have been formed correctly.
If you have more than 8 reactions, repeat the droplet generation steps with additional, fresh cartridges.
Transfer the droplets from the cartridge to a 96-well plate.
Pipet up the entire well volume (70 µL) from the top channel of the cartridge. Place your pipette tip at the center-bottom of the well to ensure you get the full volume.
Dispense the droplets into a well of the 96-well plate, going slowly to not disturb the droplets. Place your pipette tip on the side of the well when dispensing, and avoid bubbles as usual (though this is not critical at this step).
Tip: Transfer droplets from one cartridge into one column of the 96-well plate for easy plate layouts.
Tip: Leave the cartridge in the white holder while pipetting. After transfer to the 96-well plate is complete, you can throw away the cartridge.
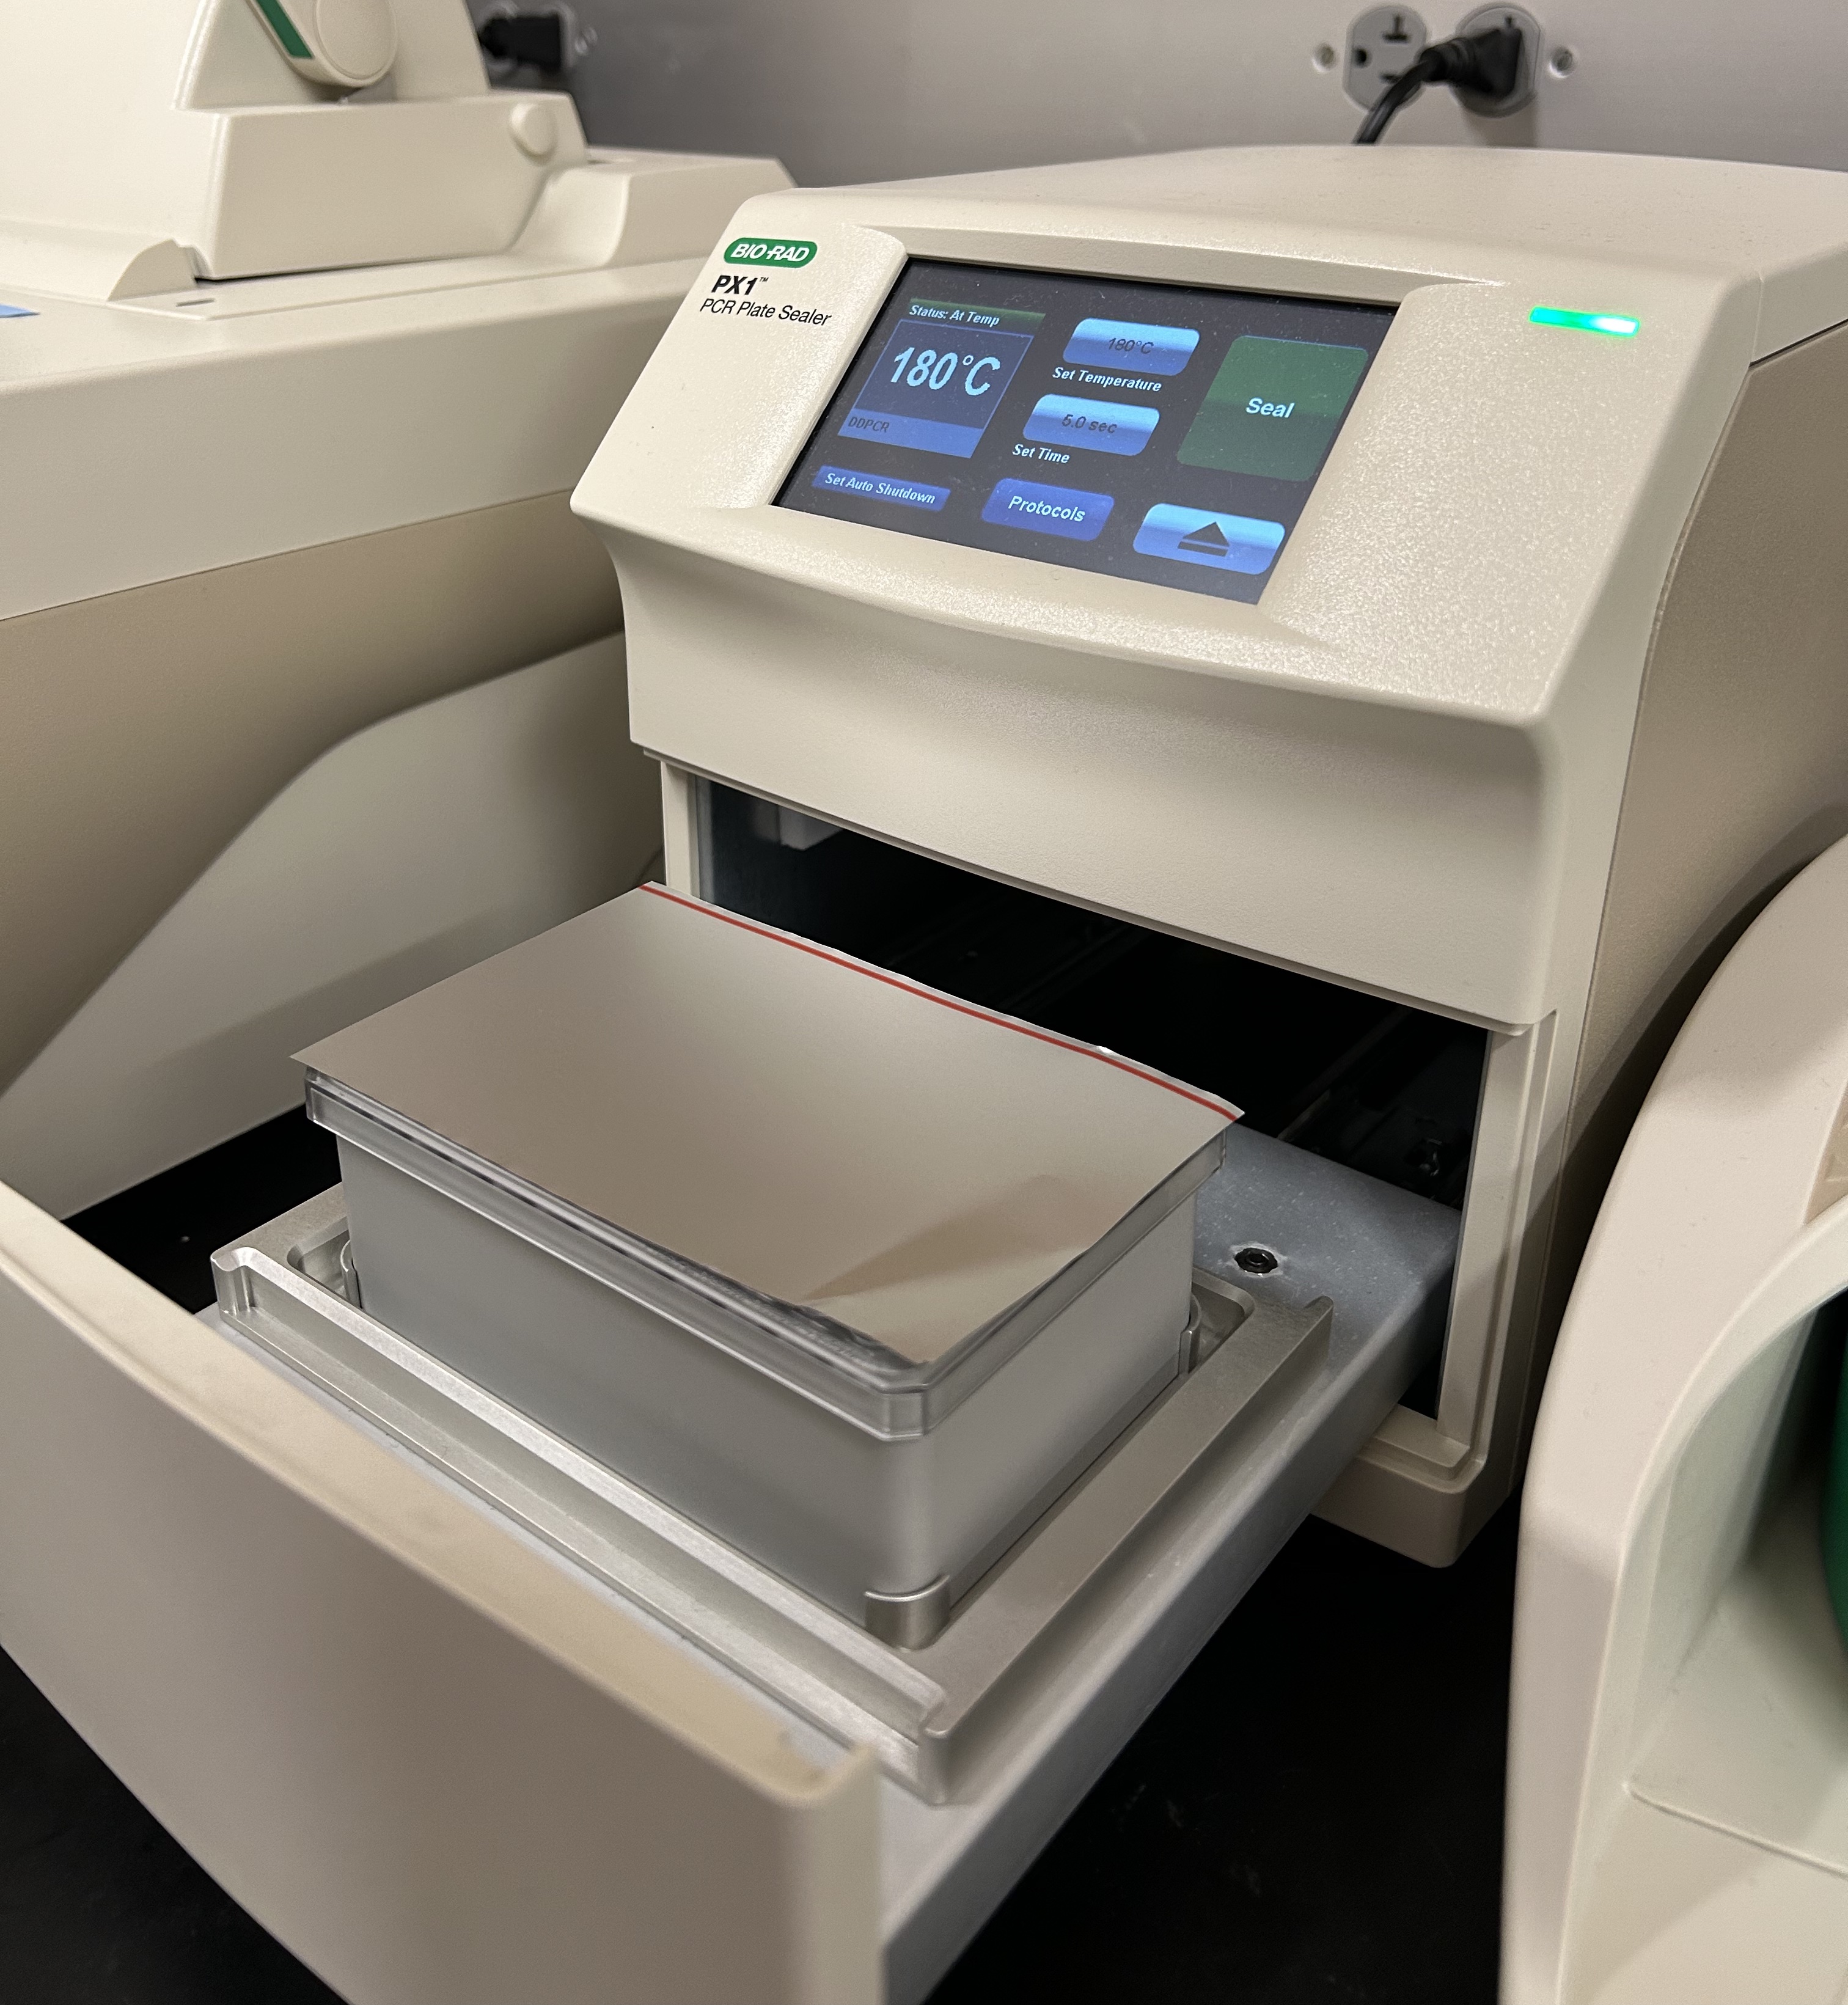
Seal the 96-well plate. Place the block, plate, and piece of foil in the PX1 PCR Plate Sealer (see picture) and run. This takes ~10 seconds.
ddPCR Plate Sealer with block, plate, and foil ready to run.
Load the sealed plate in the thermocycler and run the ddPCR_DEMO protocol. This takes ~2 hours to run.
Note
After running the ddPCR reaction in the thermocycler, the plate can be stored at 4ºC for up to a few days before analysis. Typically, however, we run the analysis on the same day.
Analyze the droplets using the QX200 Droplet Reader:
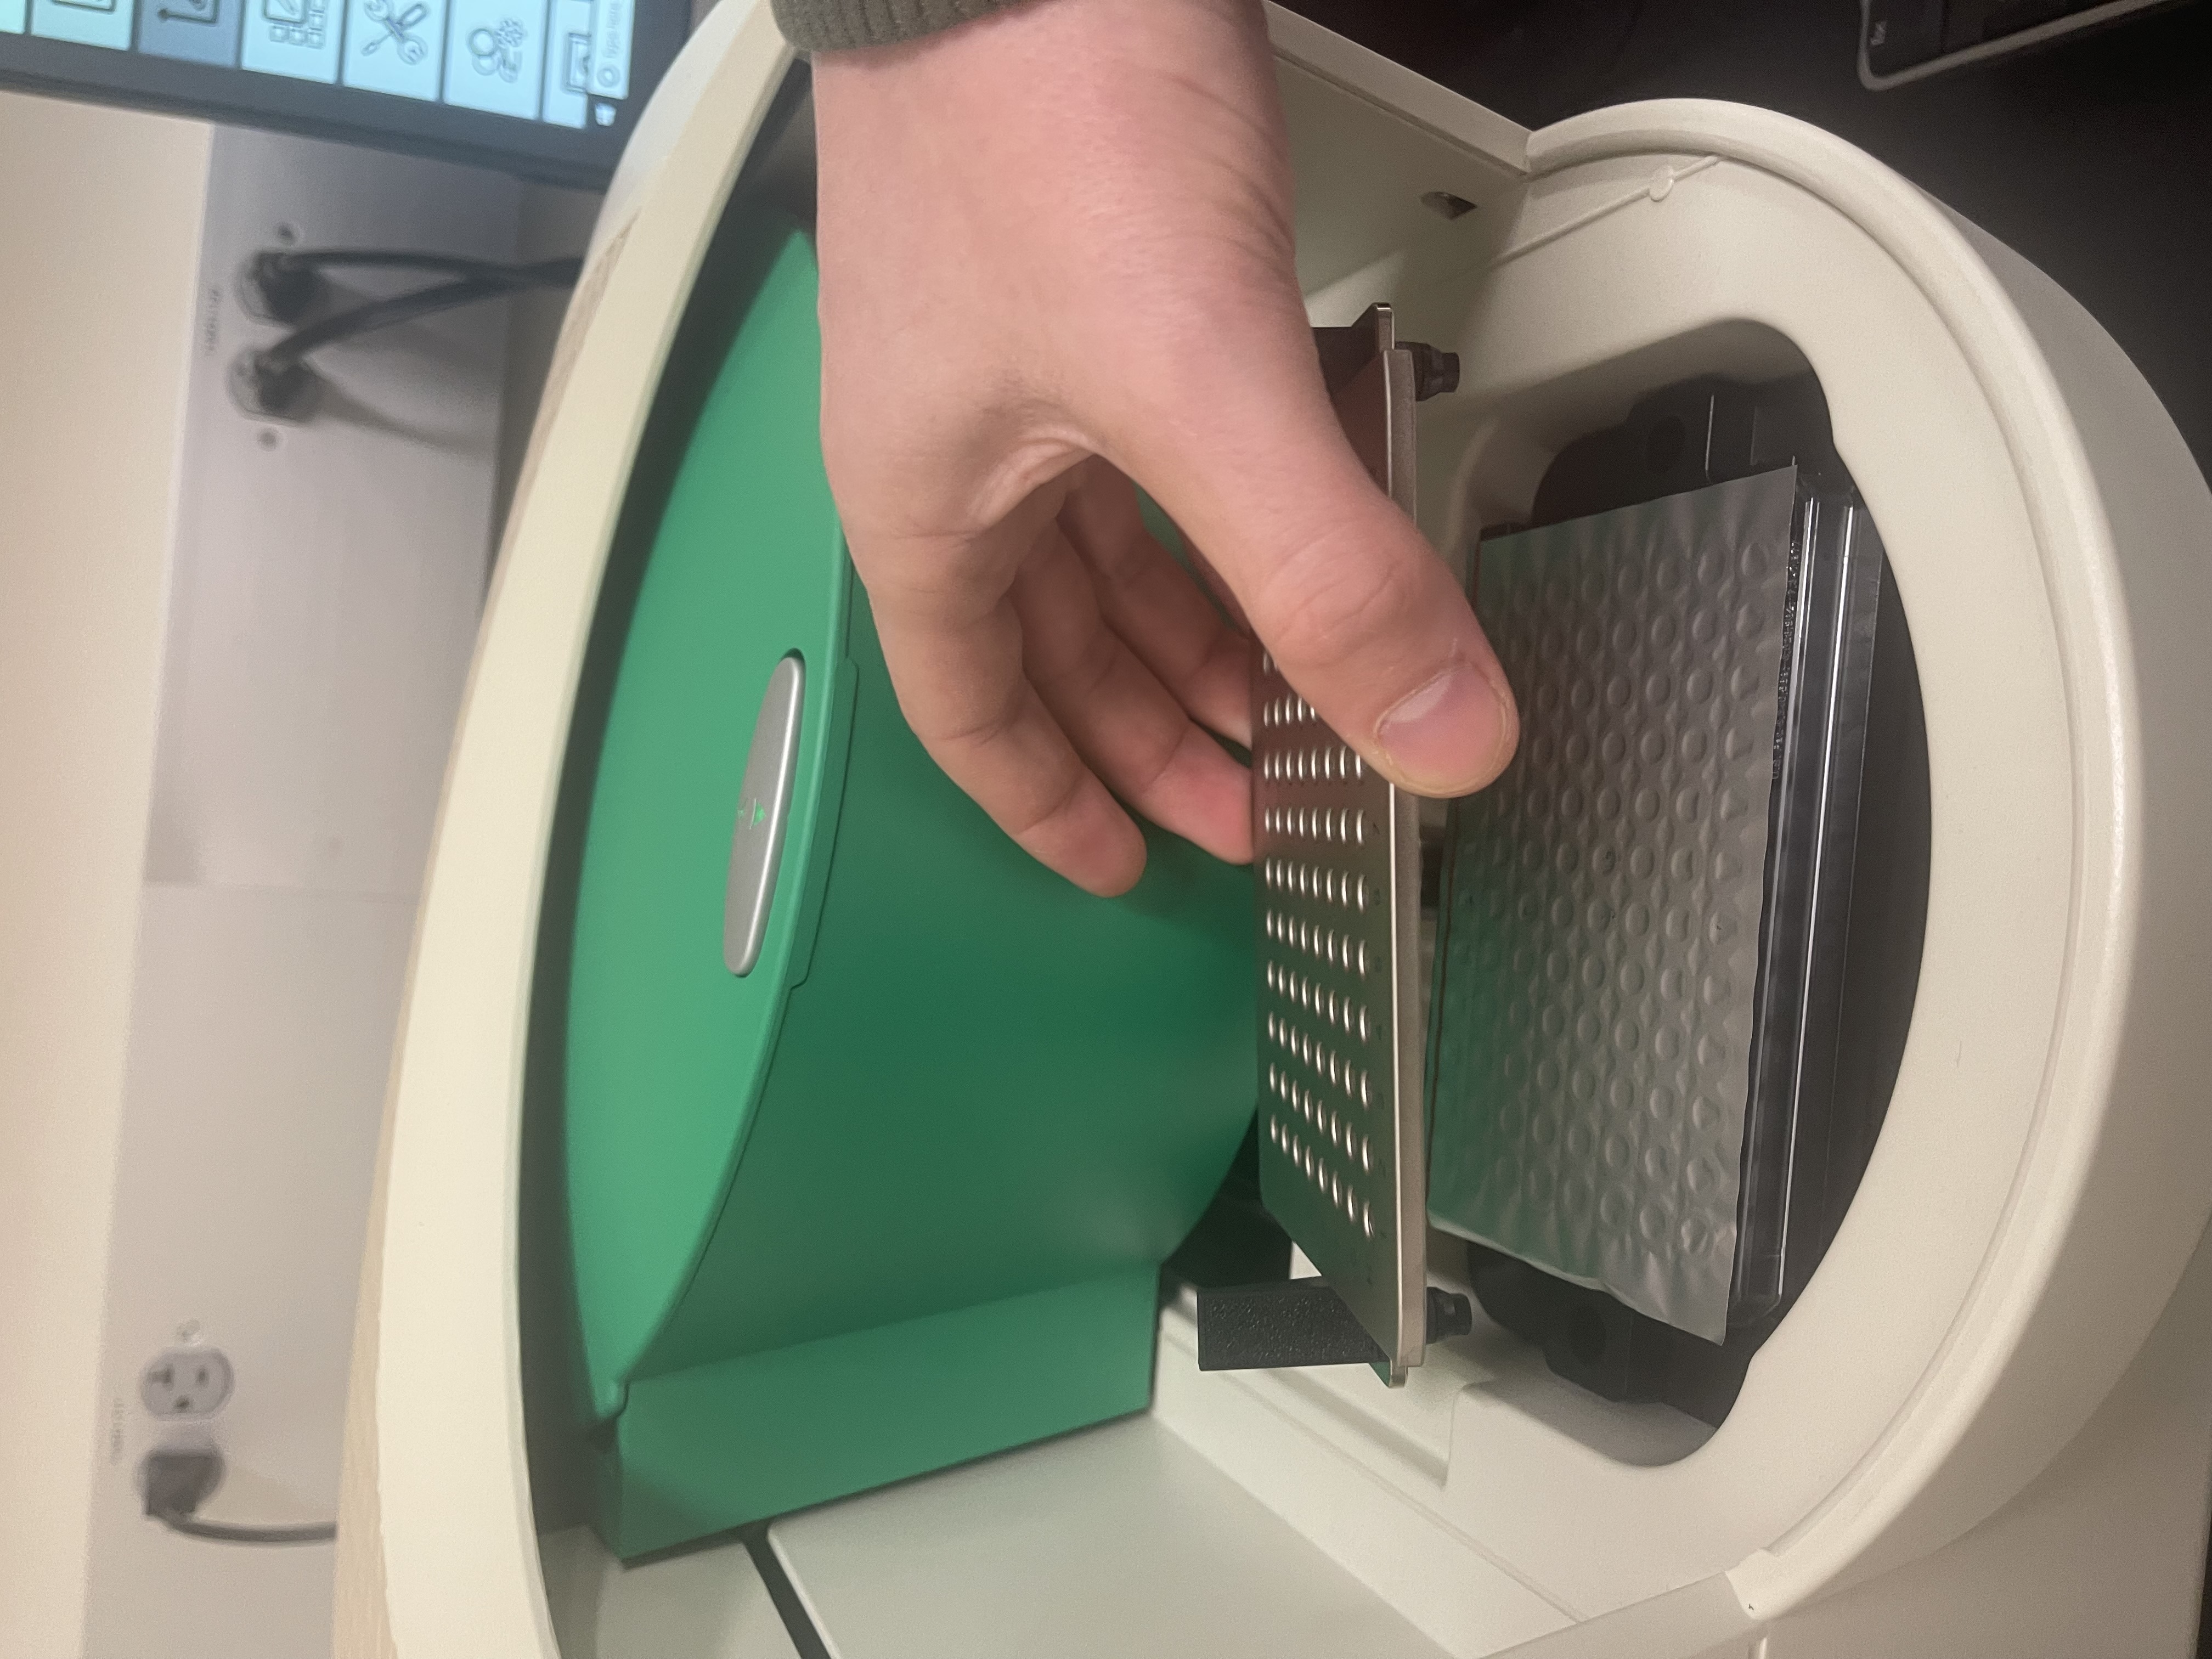
Remove the plate from the thermocycler and turn on the QX200 Droplet reader (switch on the backside)
Load the plate oriented correctly into the QX200 Droplet Reader with the metal plate cover on top with the latches clasped down.
Open the QX Manager software (username: admin, password: on post-it on computer)
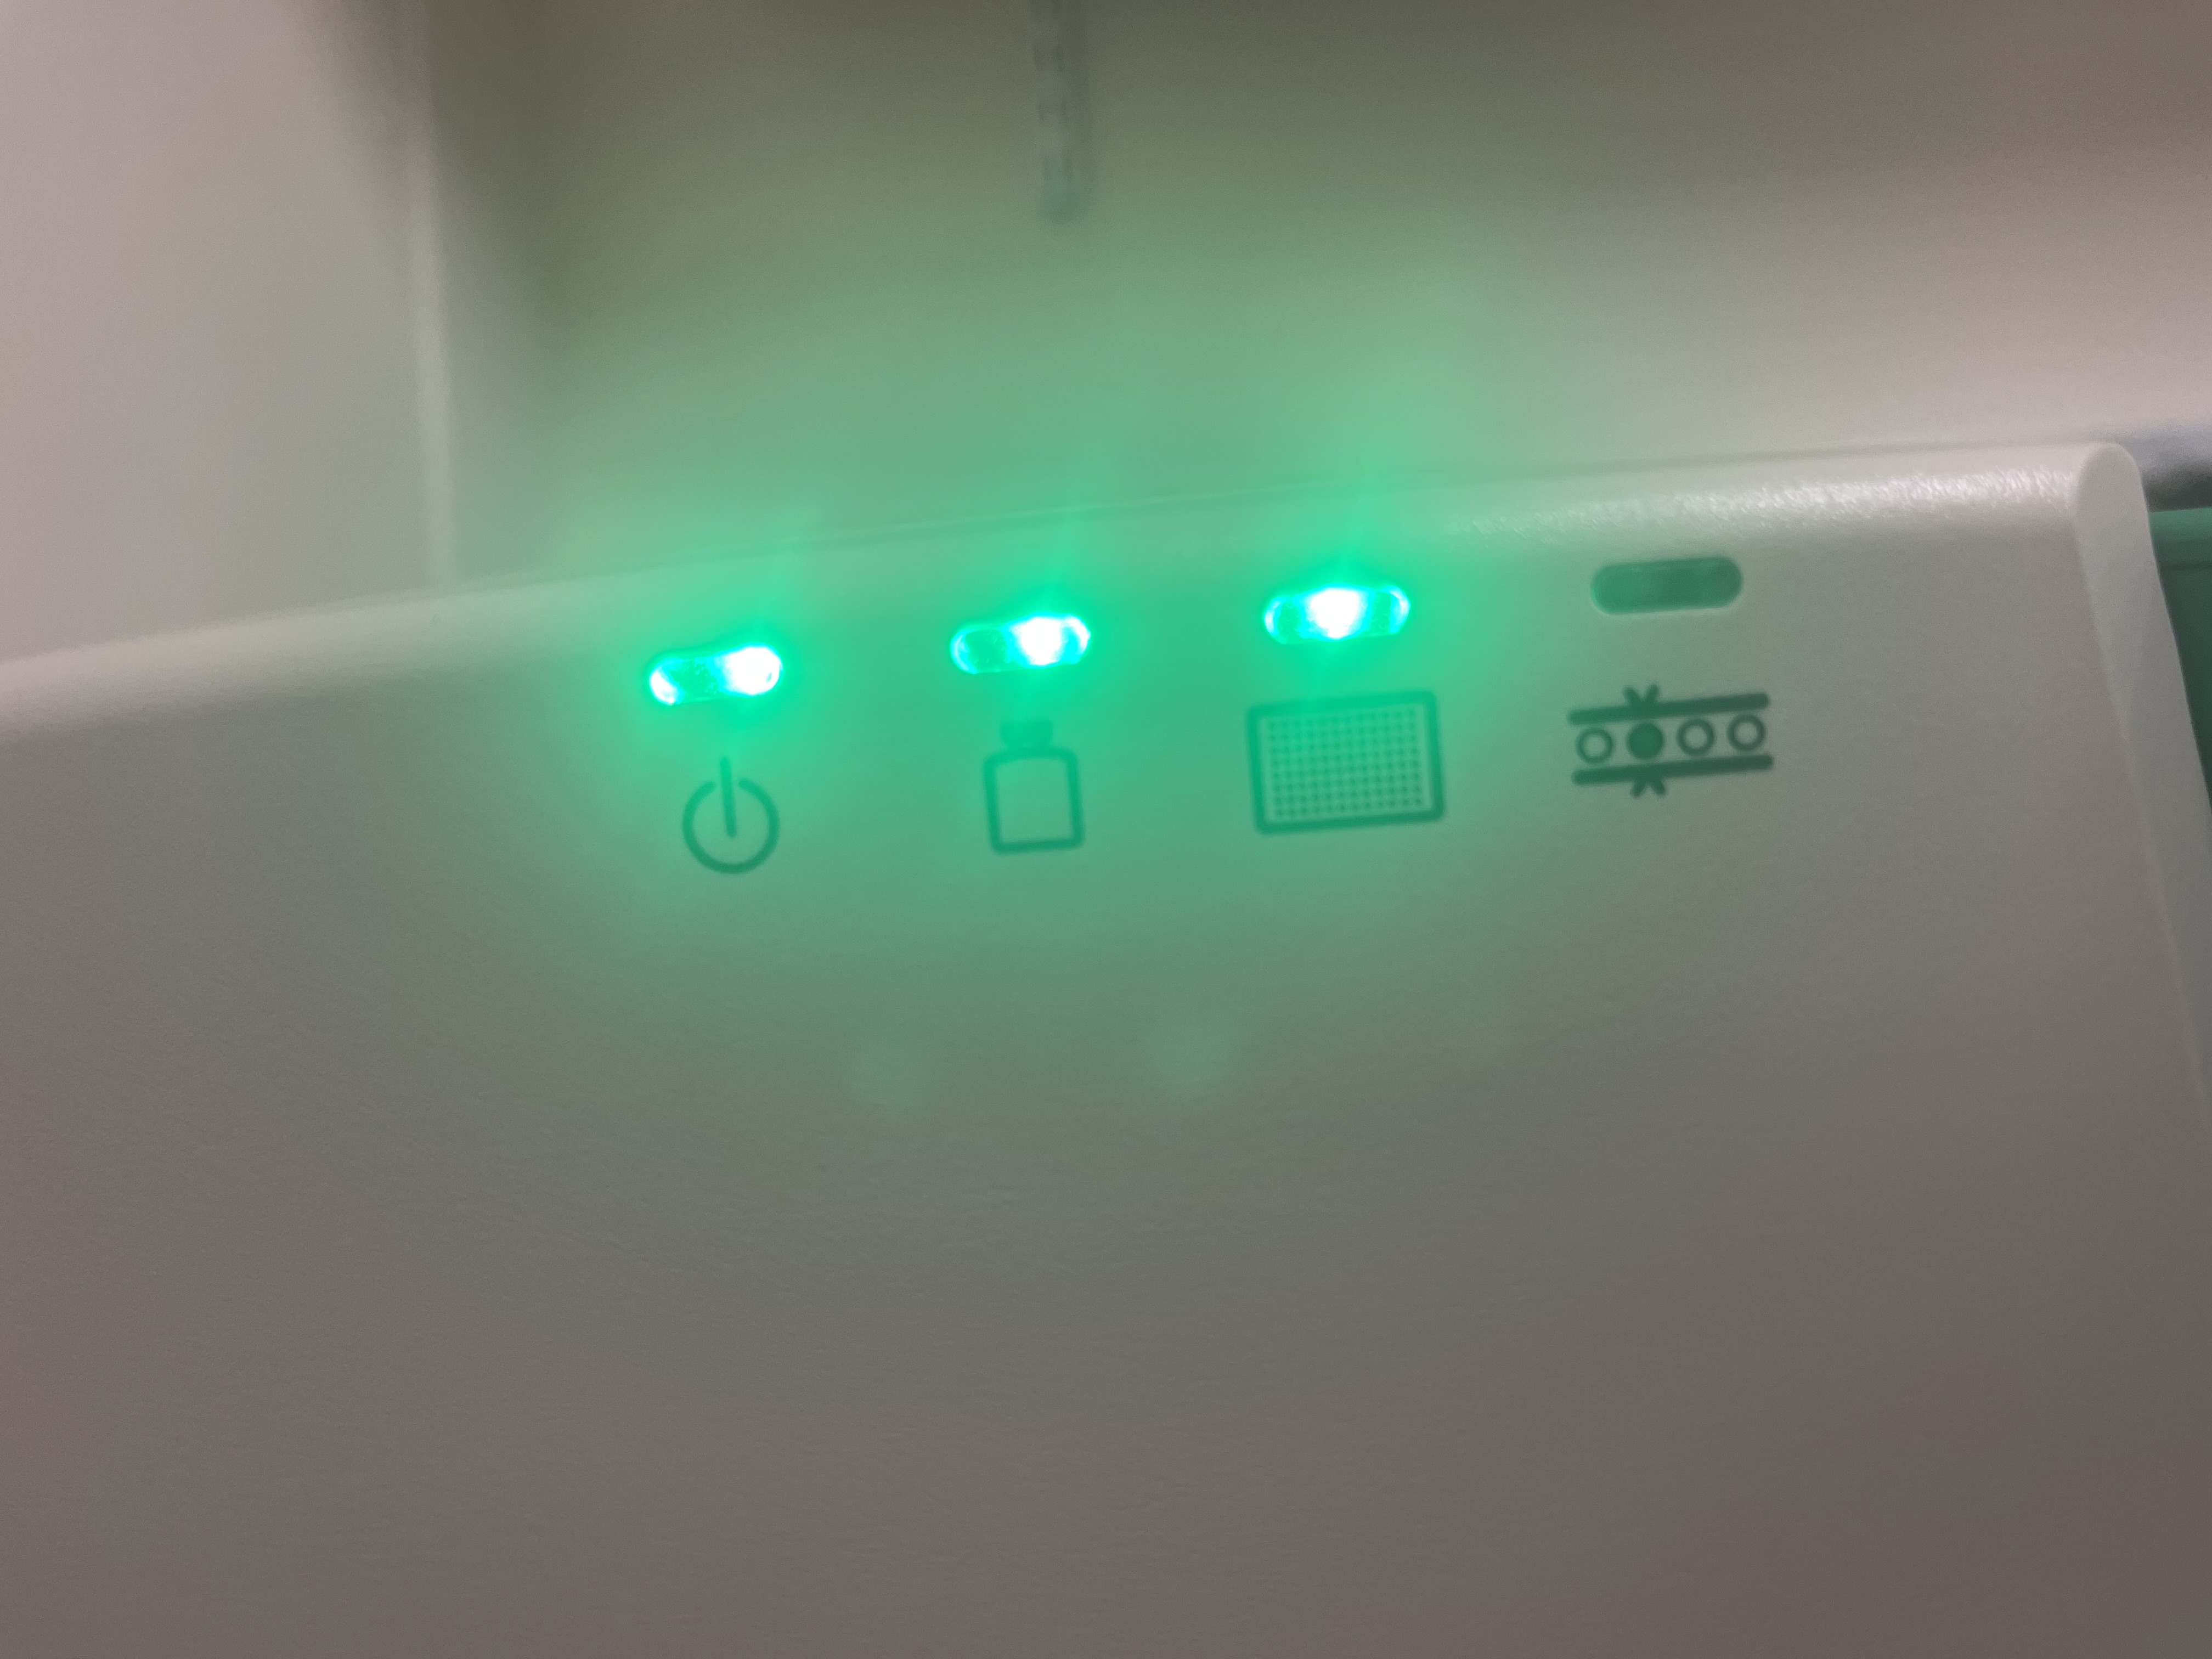
If the three lights on the front the of machine are green, you are ready to start a new experiment by selecting the plate icon button in the top left.
Fill out the three input tabs for experimental information:
Plate information
Create a plate/experiment name
IMPORTANT: select “ddPCR Supermix for Probes (No dUTP)” for Supermix
Select to acquire wells by columns or rows
Well selection
Select wells to analyze
Well information
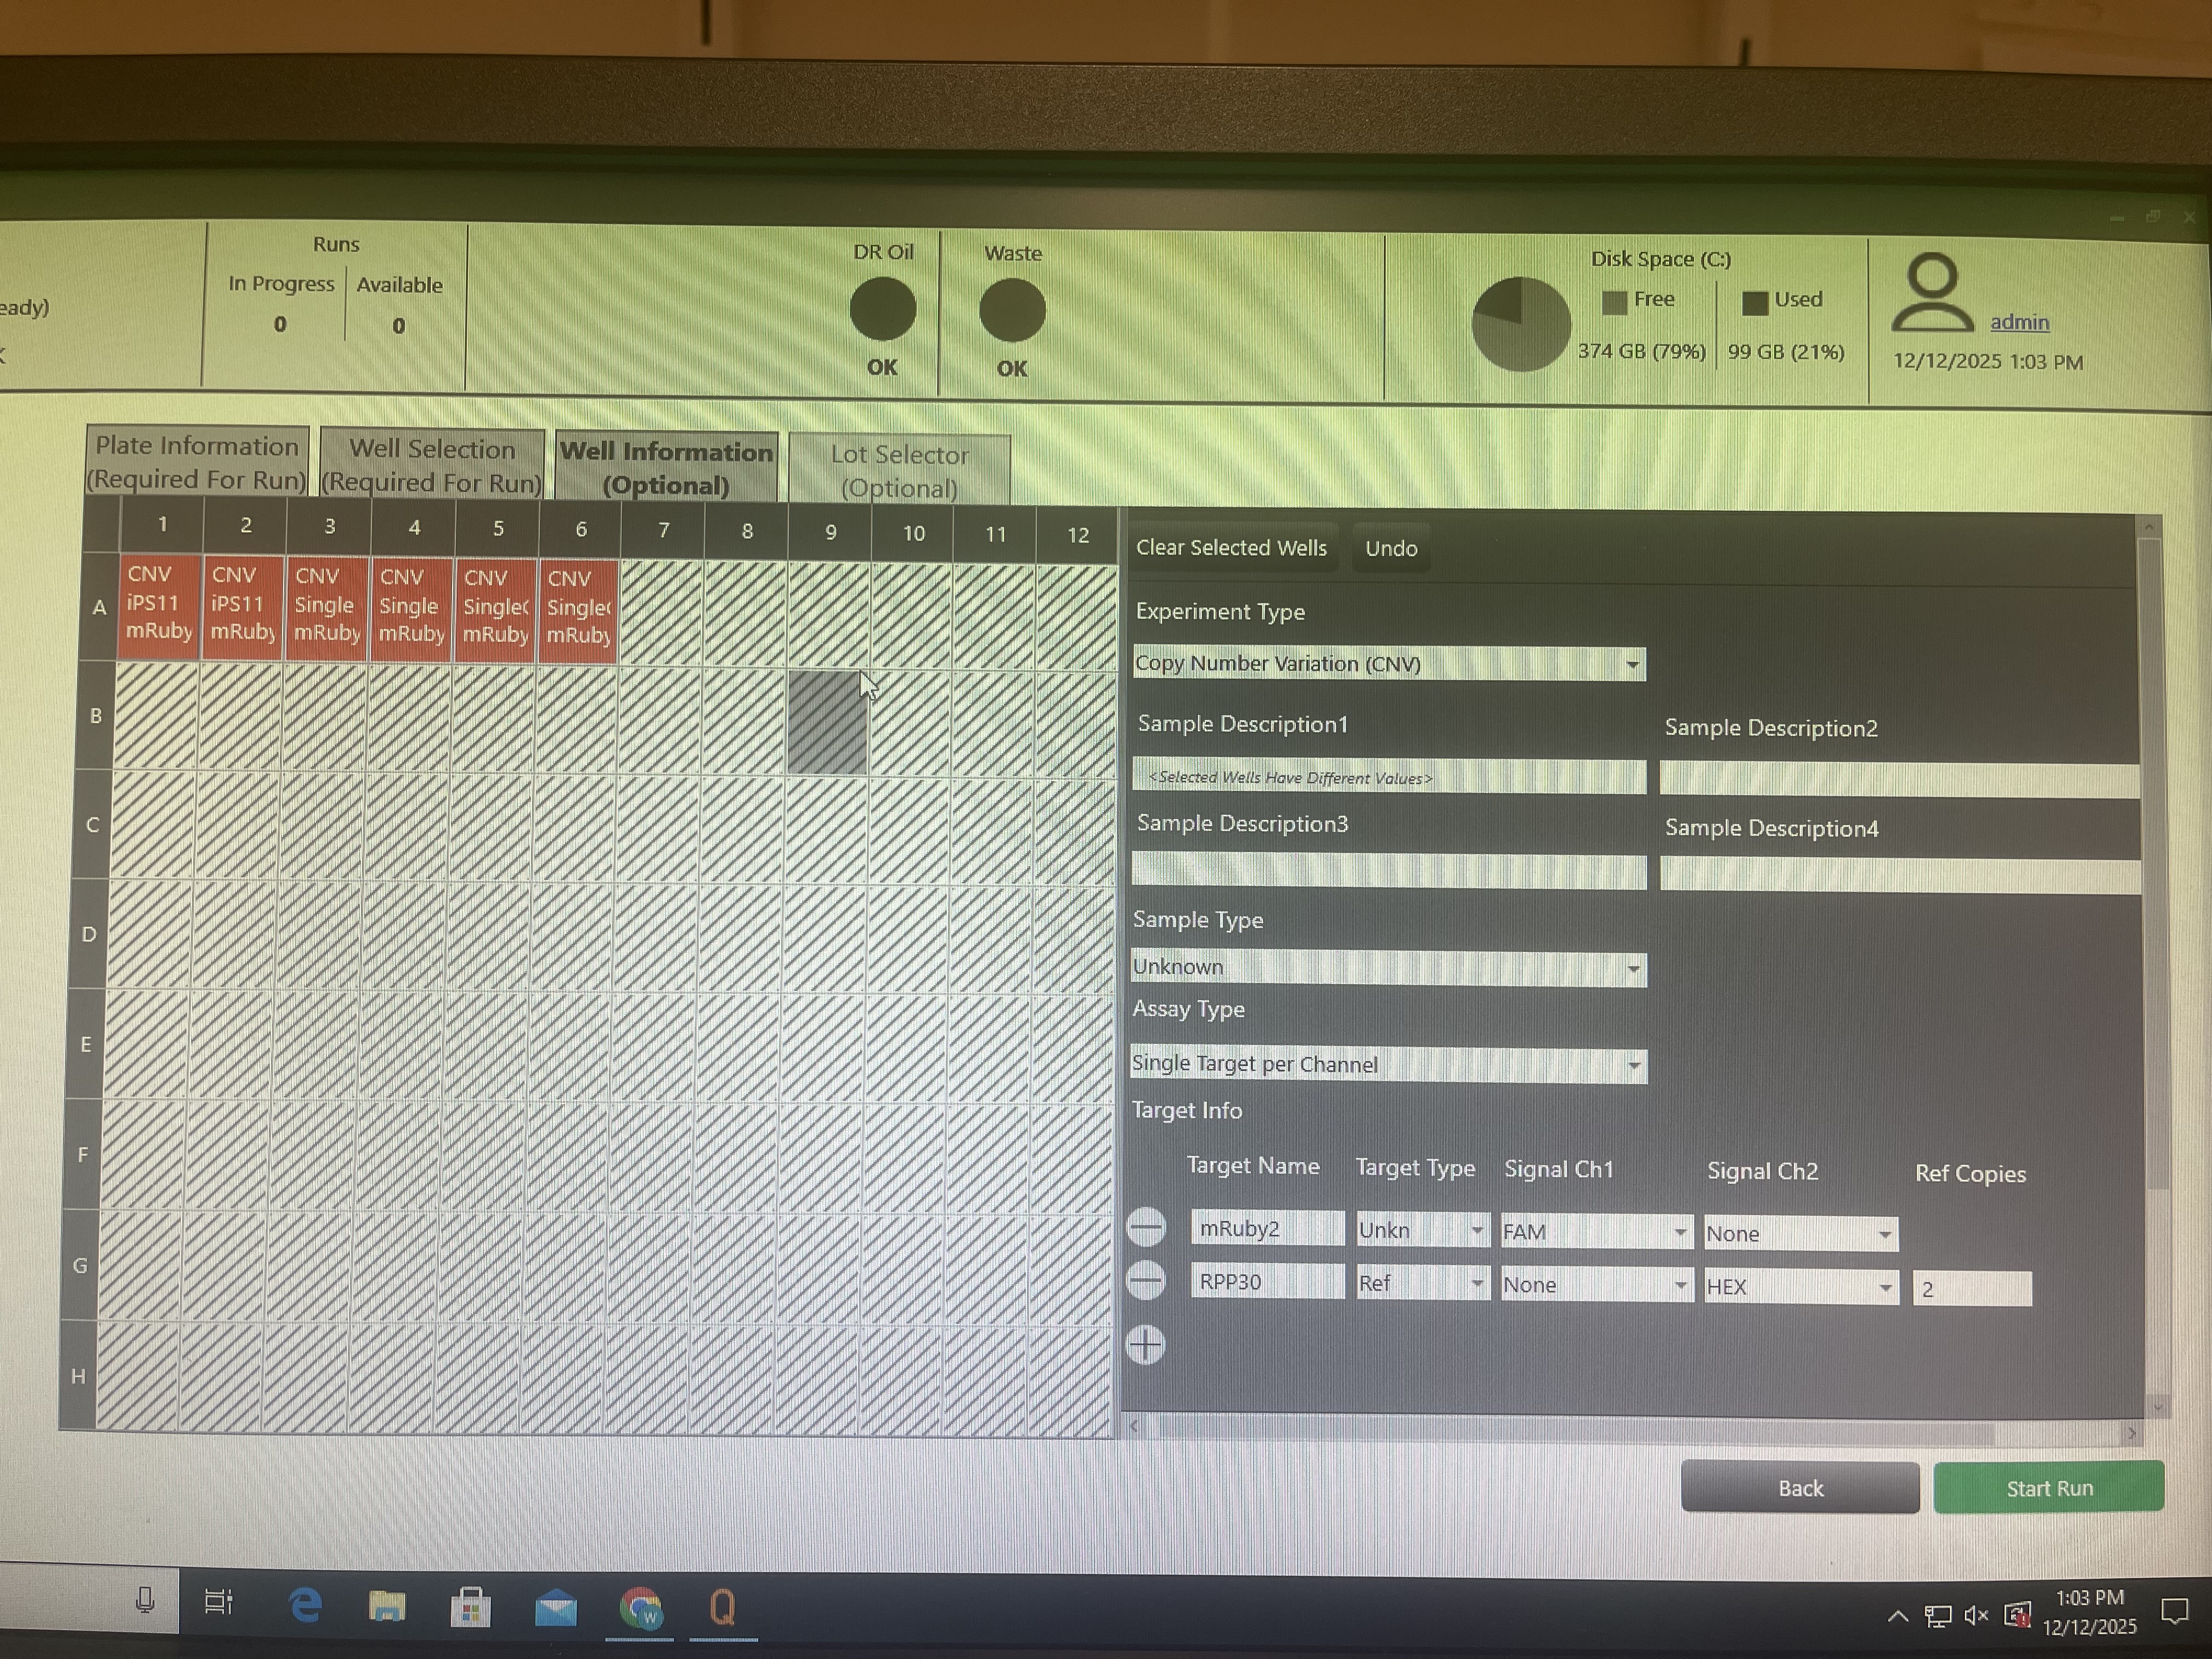
Select “Experiment type” (for this example a Copy Number Analysis was selected)
Input “Sample Description” for each well for easier identification
Input target information for each well (the dye and gene for the probe); multiple wells can be selected if the targets are shared
In this example, we were interested in mRuby2 copy number in hiPSCs with RPP30 as a reference gene. We use the HEX probe in Channel 2 for RPP30 (with 2 copies in the genome) and the FAM probe in Channel 1 for mRuby2.
Example inputting sample target information in software.
Run the experiment. The machine will take ~10 minutes to analyze 8 wells.
Note
A live analysis window can be opened to monitor the progress. It can be helpful to watch the “Event Count”, i.e., the number of droplets analyzed.
We are targeting >10,000 droplets per well to ensure sufficient droplet generation and good data quality.
The experiment data will be automatically saved to the “ddPCR data” file on the computer. Copy your .ddpcr file to a flashdrive and transfer the file to the lab data folder at instruments/data/Weiss.lab.ddPCR.
Remove and dispose of the plate from the machine and turn off the QX200 Droplet Reader.
Note
It is possible to perform analyses in the BioRad software, but it may be preferable to perform your own calculations directly on the raw droplet data in Python.
The .ddpcr file contains all the relevant data and any metadata you inputted using the software, and you can use the load_ddpcr function in rushd
to load this info into a Pandas DataFrame.
Blanch-Asensio, A., Grandela, C., Mummery, C.L. et al.
STRAIGHT-IN: a platform for rapidly generating panels of genetically modified human pluripotent stem cell lines.
Nature Protocols (2024).
https://doi.org/10.1038/s41596-024-01039-2