Stale warning
This protocol has not been updated this year! Last update was on August 05, 2025.
Replacing shake incubator drive belts
Note
If the shake incubator reports that it is actively shaking but isn’t, its drive belt may need to be replaced. Top shake incubator drive belt replaced by CJ and MC 7/17/2025.
Required McMaster parts
Part |
McMaster part number |
|---|---|
Ultra-Flexible Banded V-Belt 28-5/16” Outer Circumference |
|
Stainless Steel Hex Drive Flat Head Screw |
Procedure
Buy more McMaster parts if needed. We should have extras of most in the cabinet with the toolbox.
Acquire tools from toolbox:
?? sized hex key
14mm deep socket
socket extender
ratchet
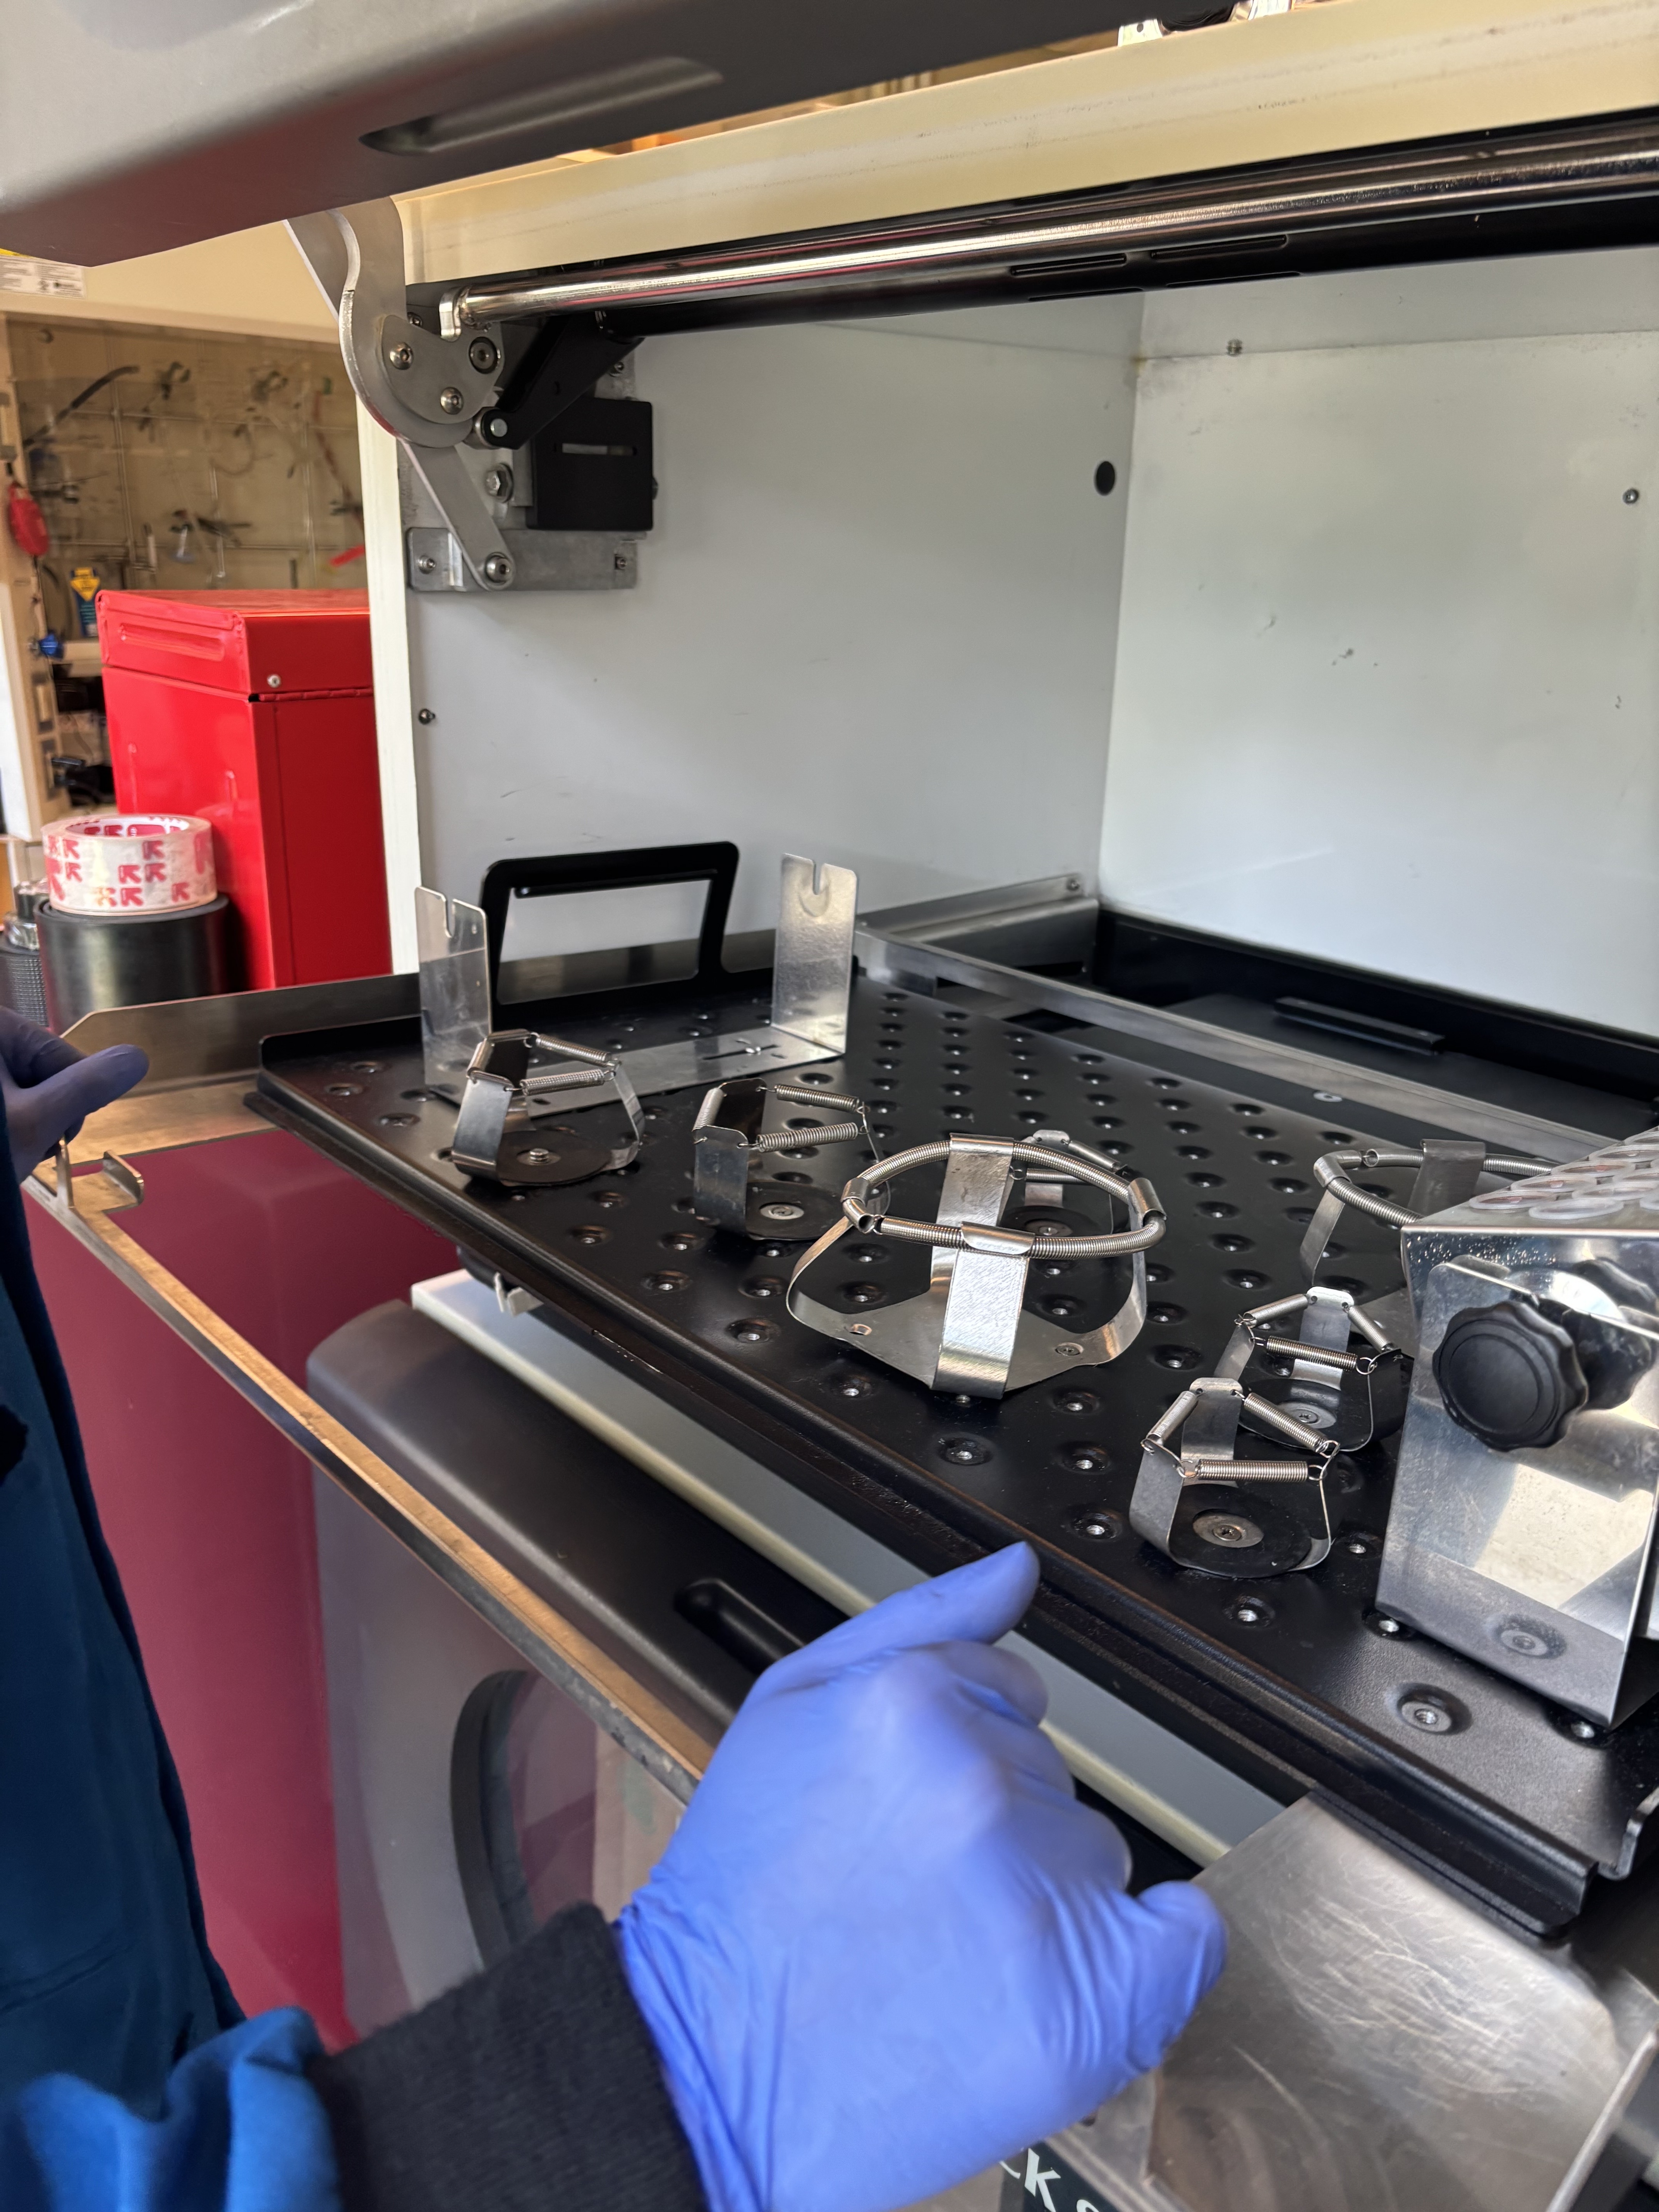
Remove top cover.
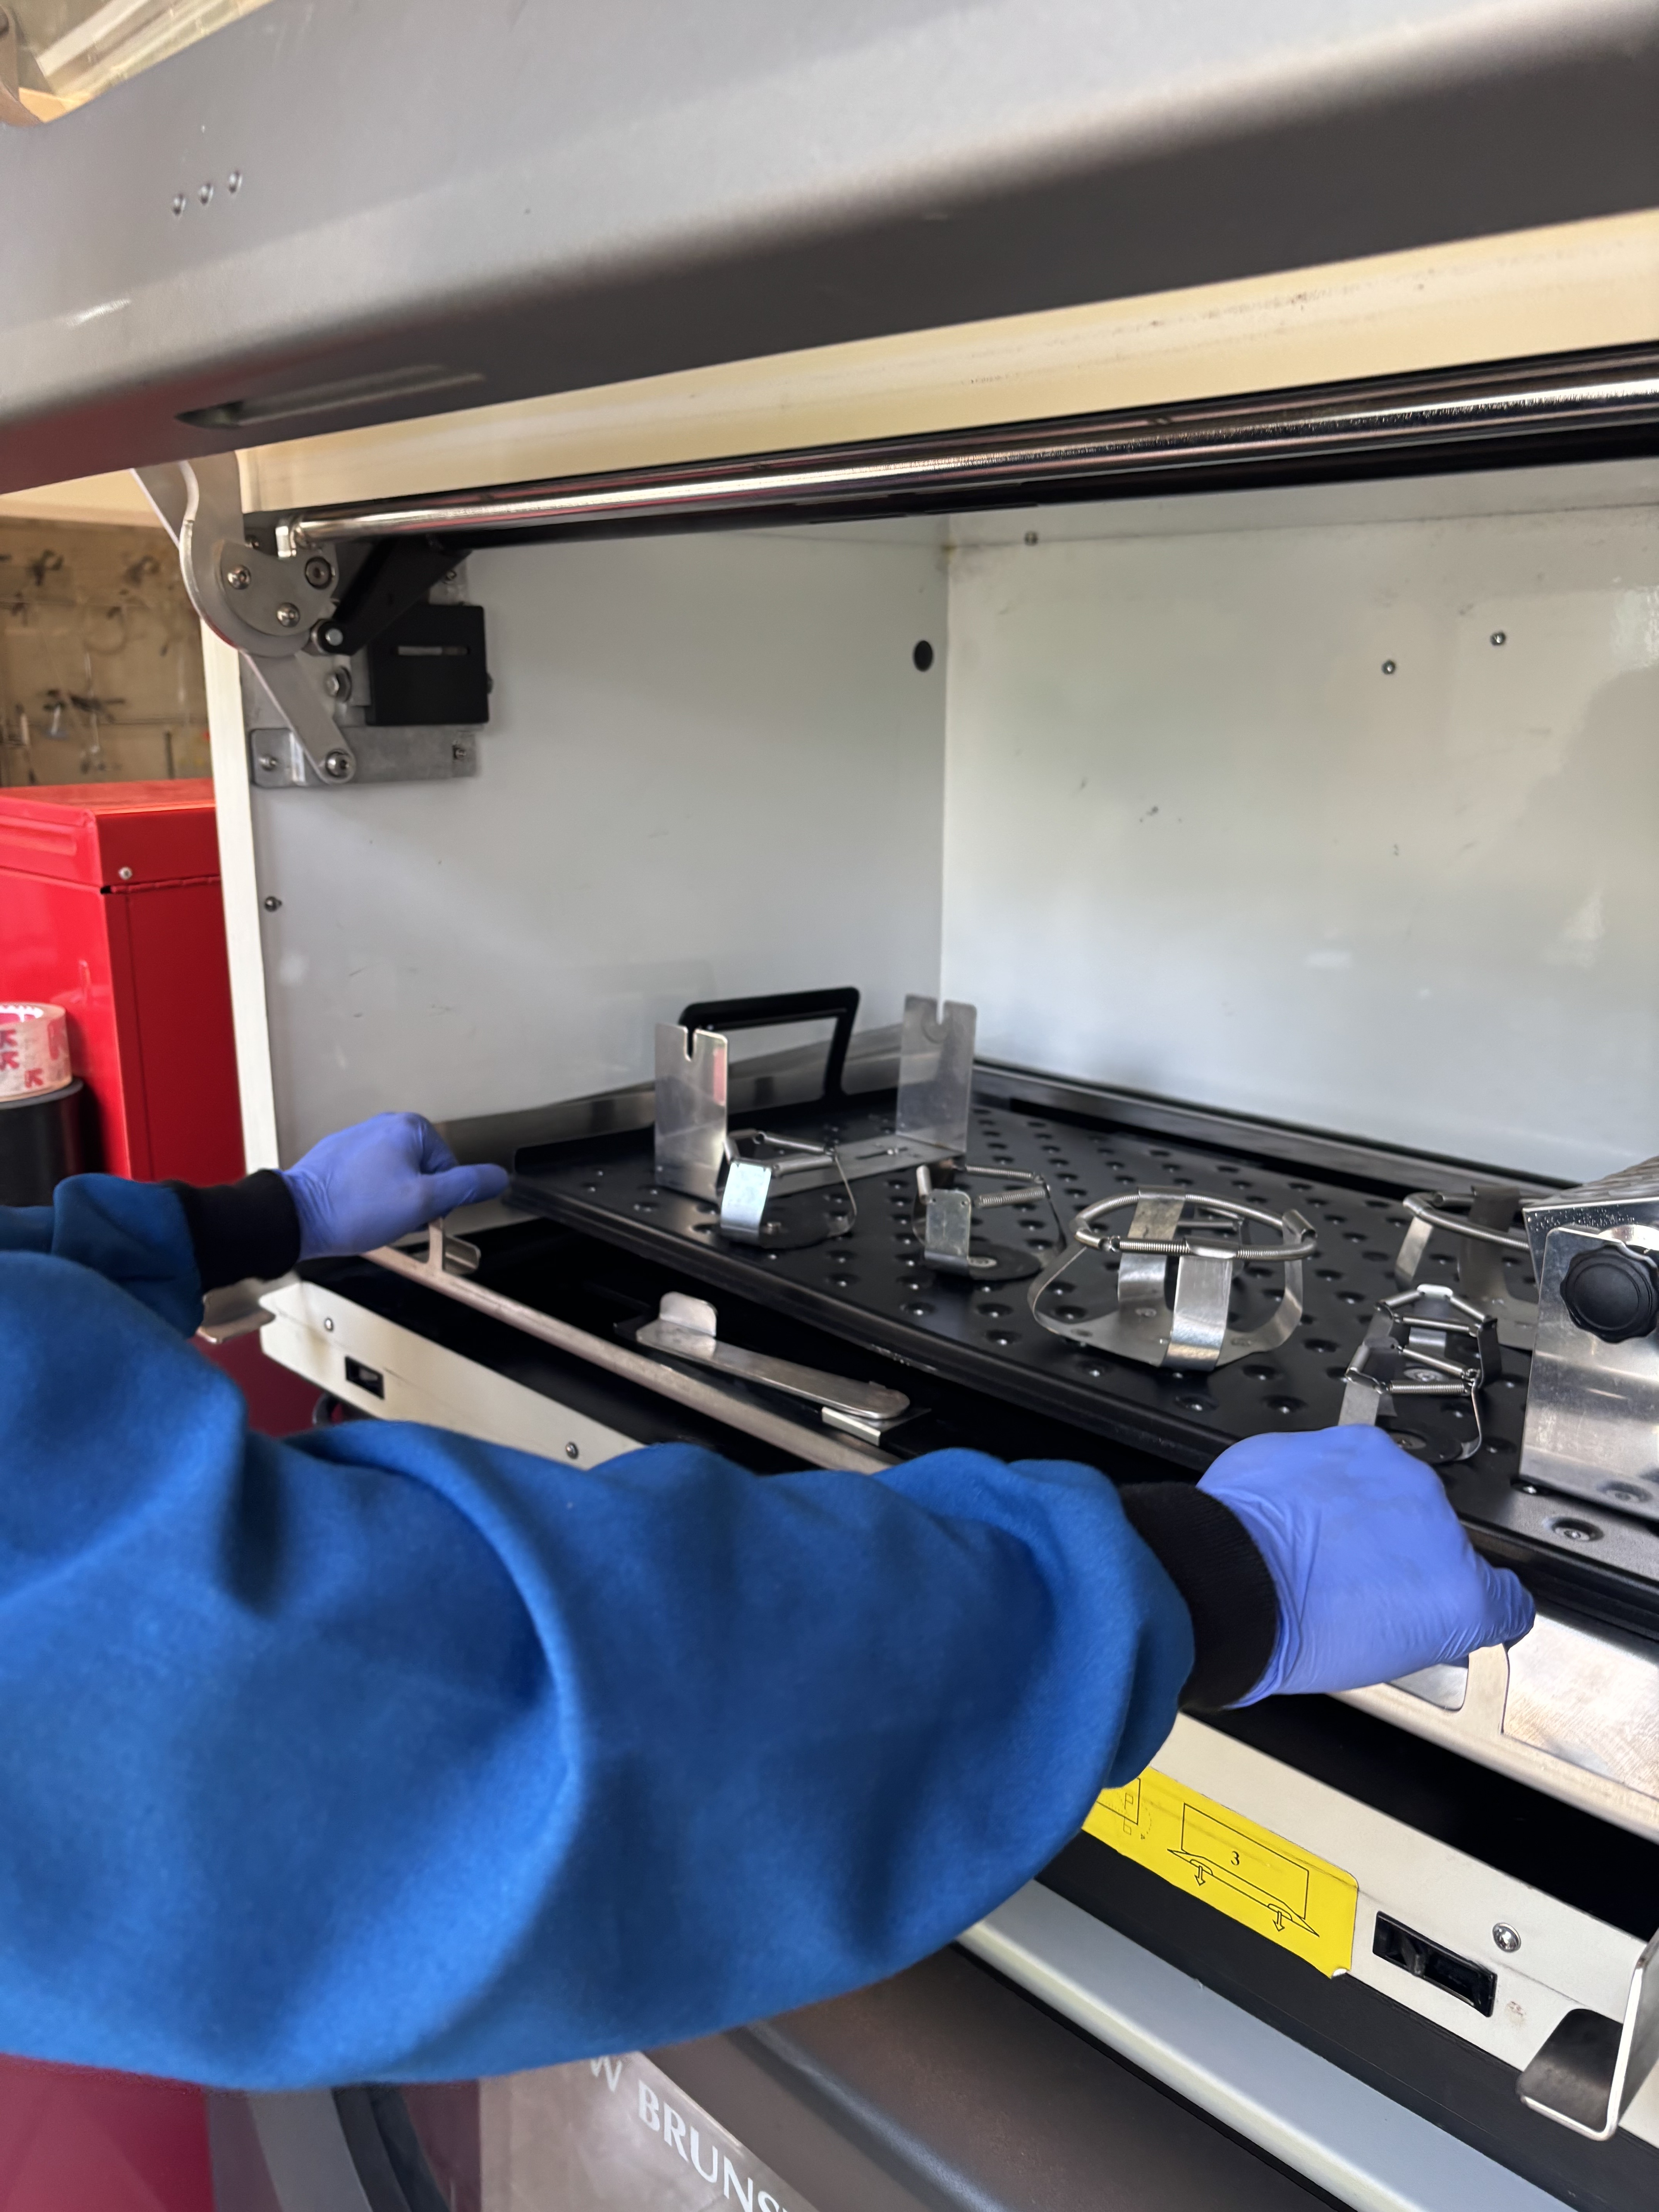
Top cover
Use hex key to undo countersunk screws.
Use ratchet to remove all of the nuts and remove counter weight.
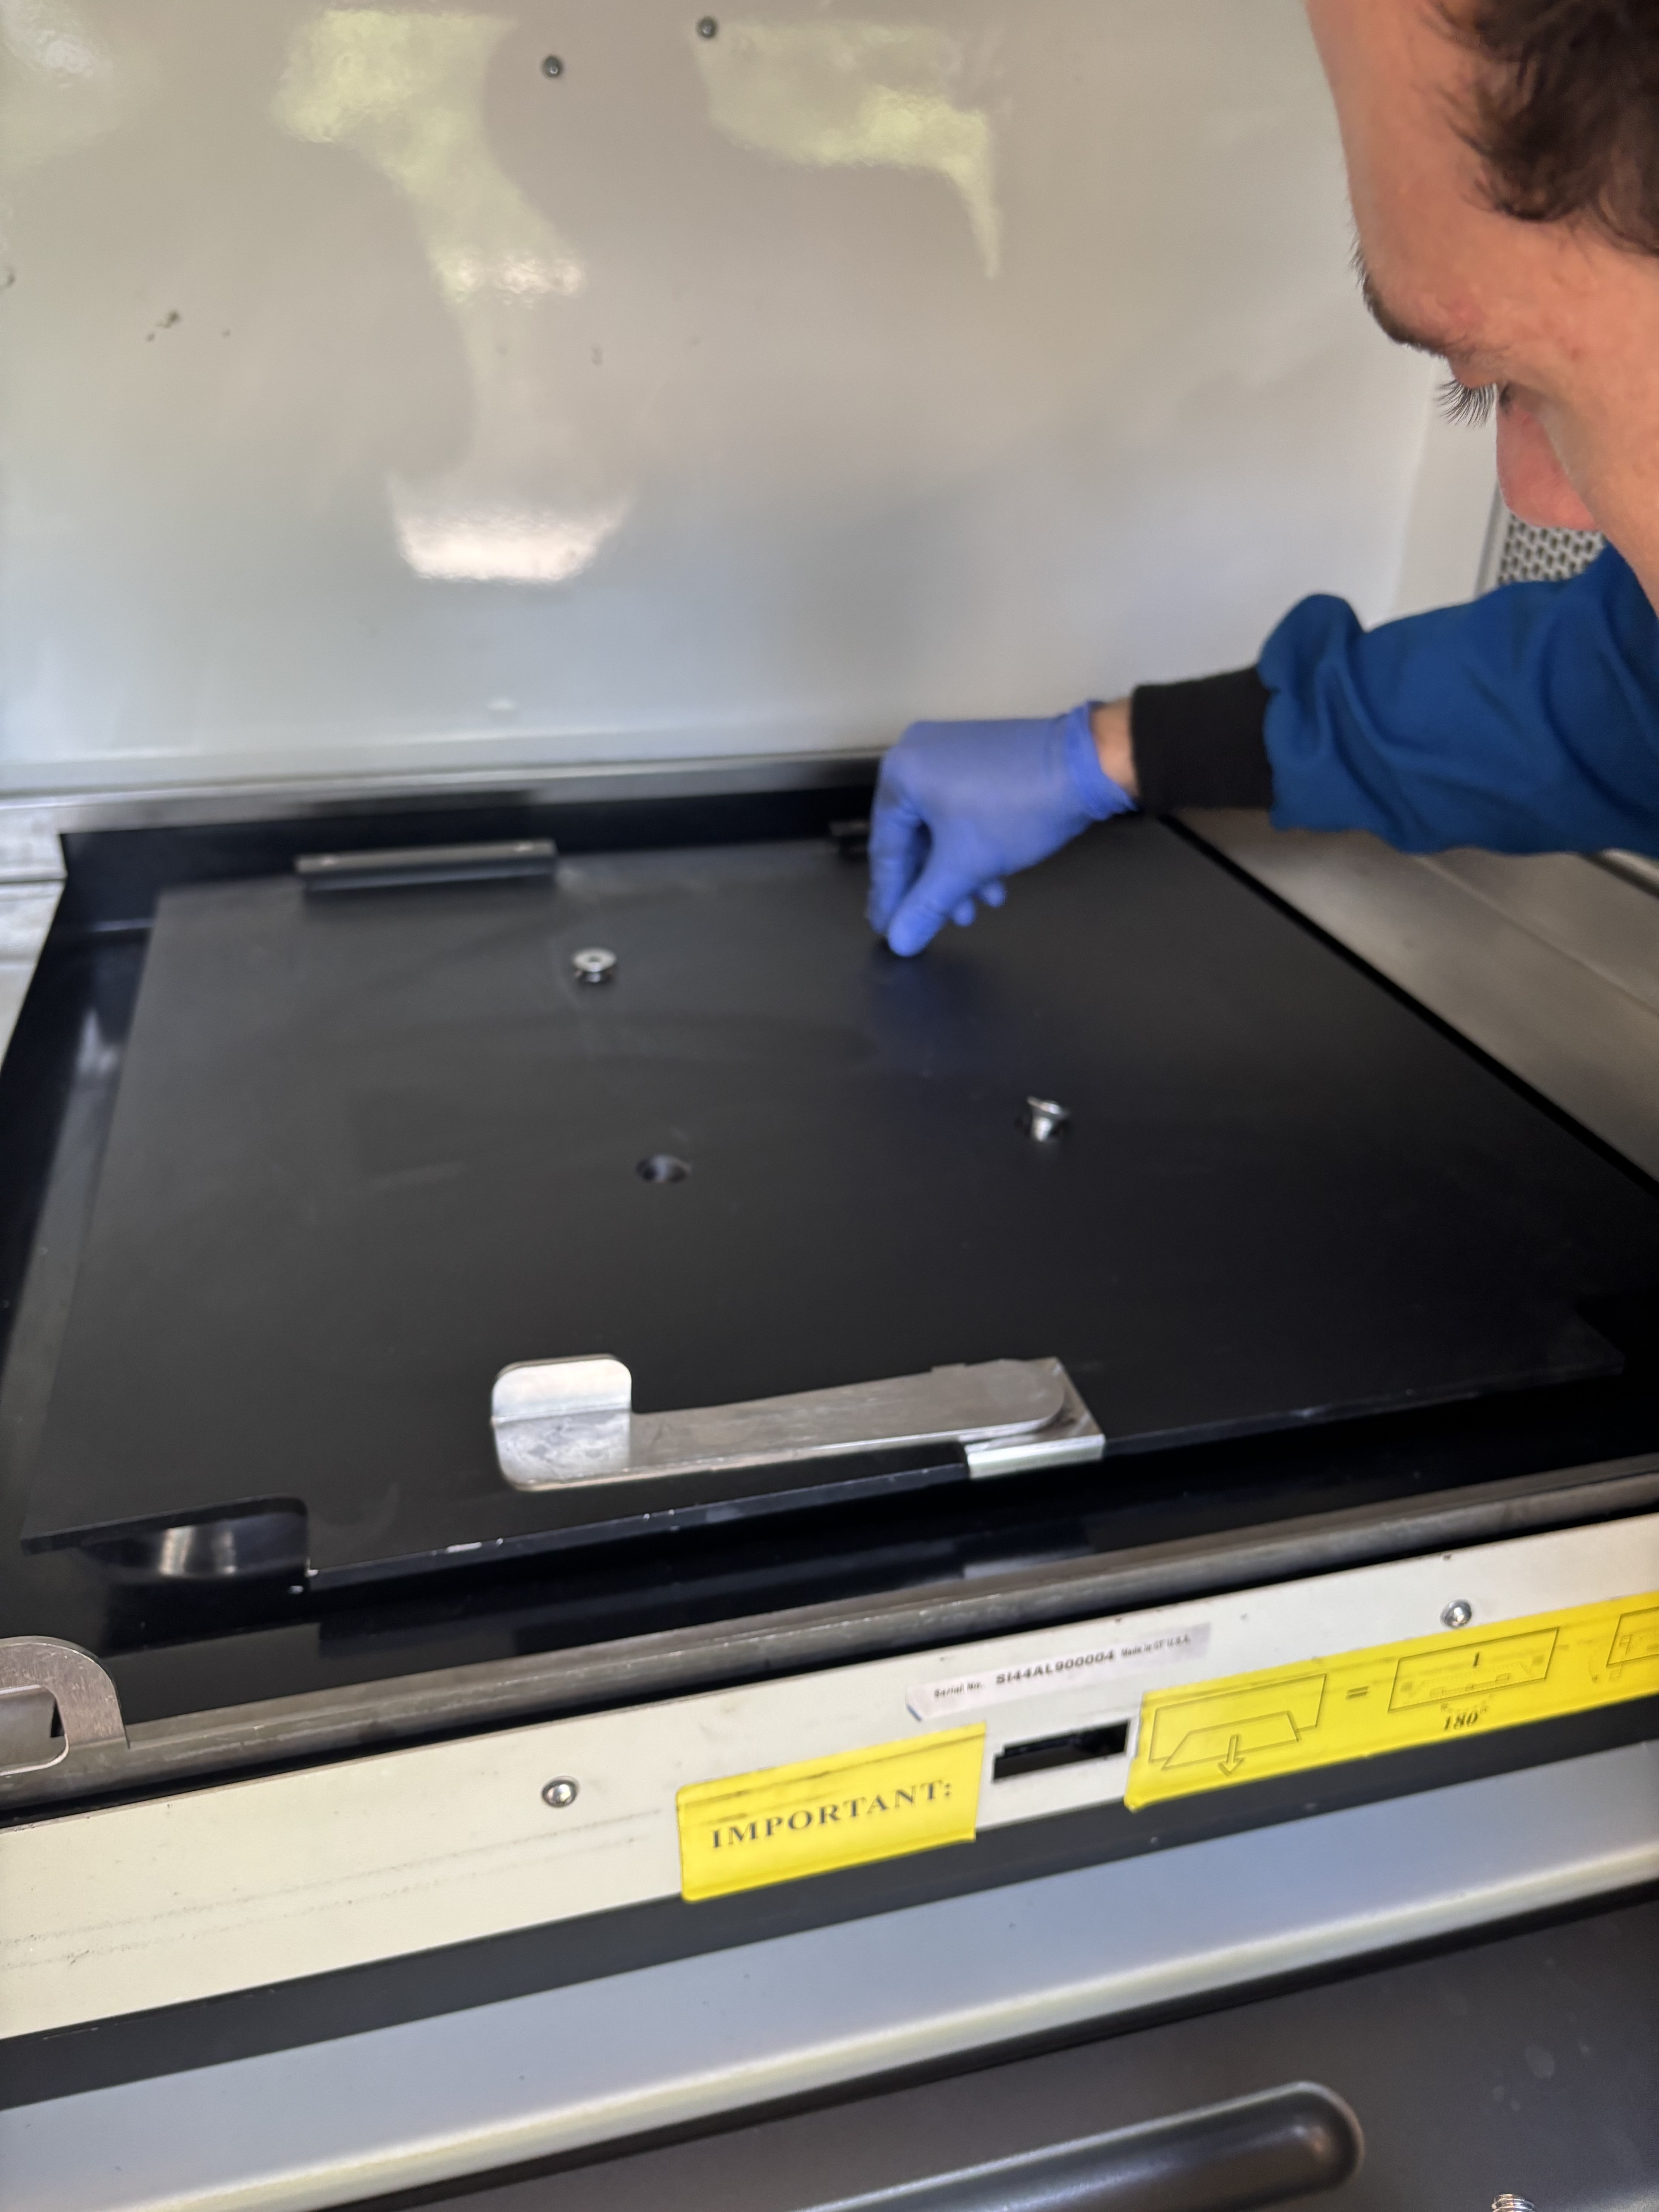
Counter weight. Screws pictured correspond to McMaster part number 92210A622.
Undo electrical connector and lift out motor assembly.
Warning
The motor assembly is very heavy. Ideally, two people should remove it.
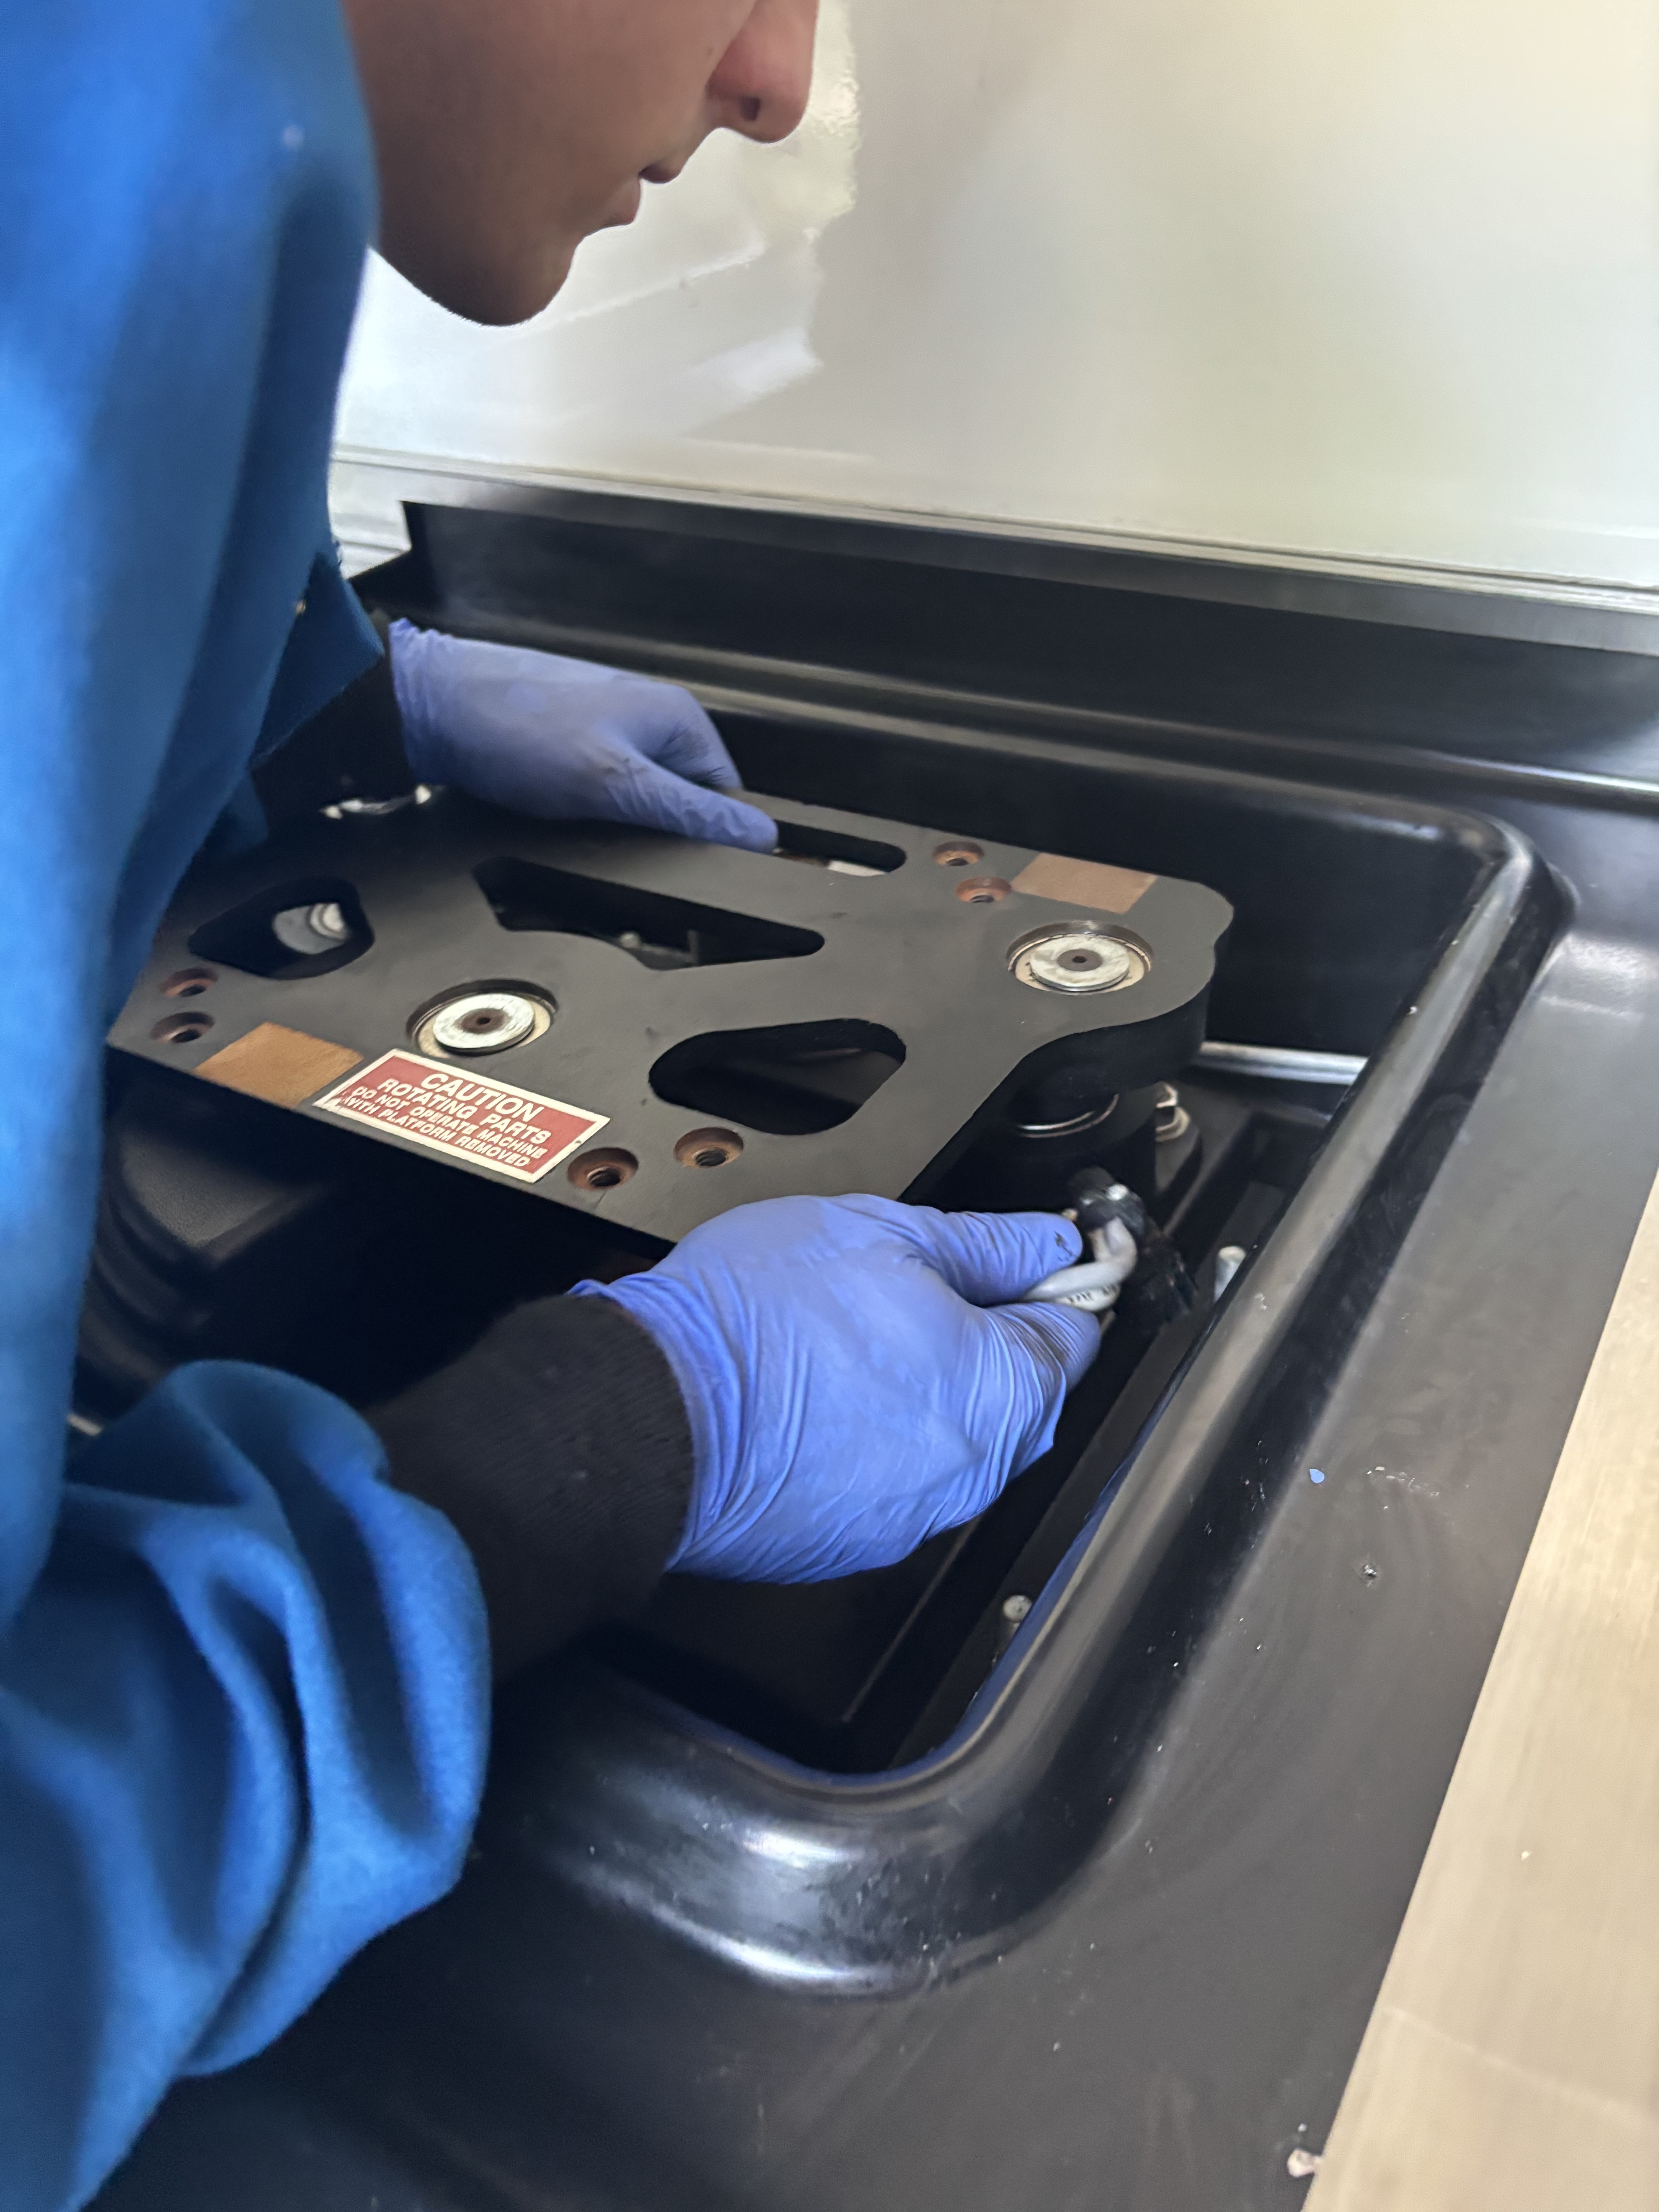
Motor assembly
Remove drive belt from underneath motor assembly and replace with new drive belt. May need to loosen screws holding motor in place in order to get the drive belt around it.
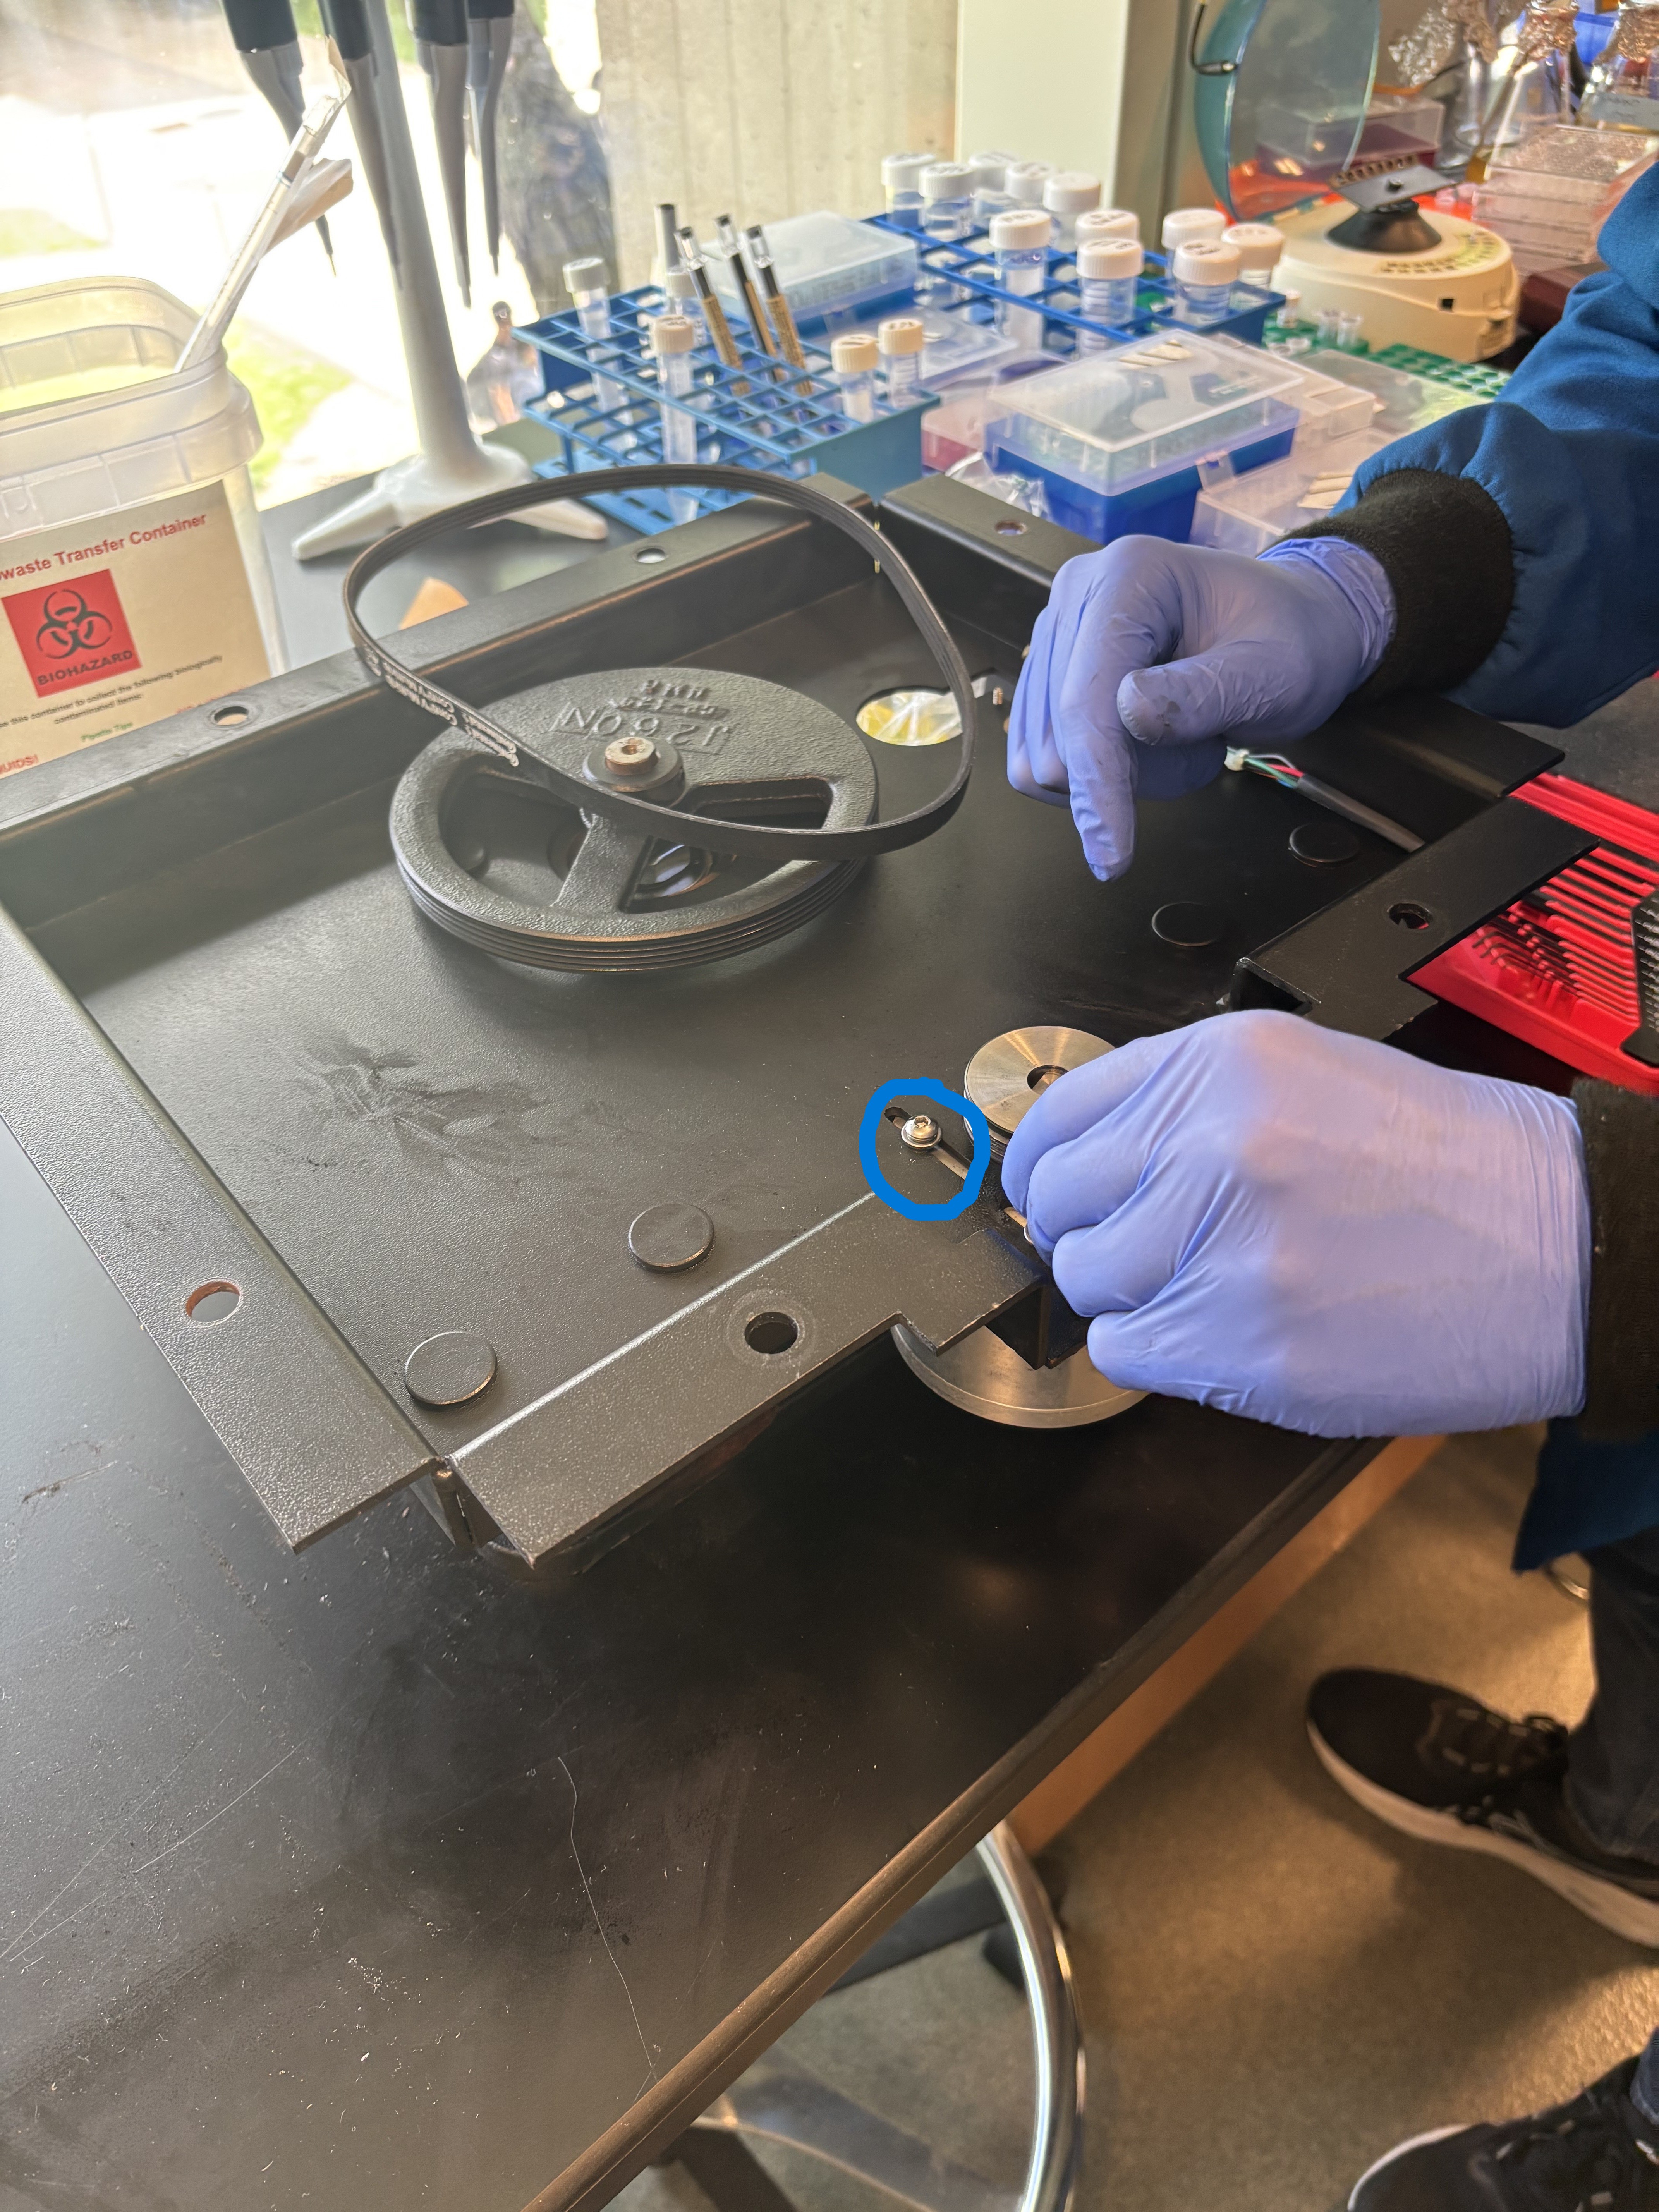
May need to loosen screws circled in blue and move motor a little closer to rotator in order to get the belt around.
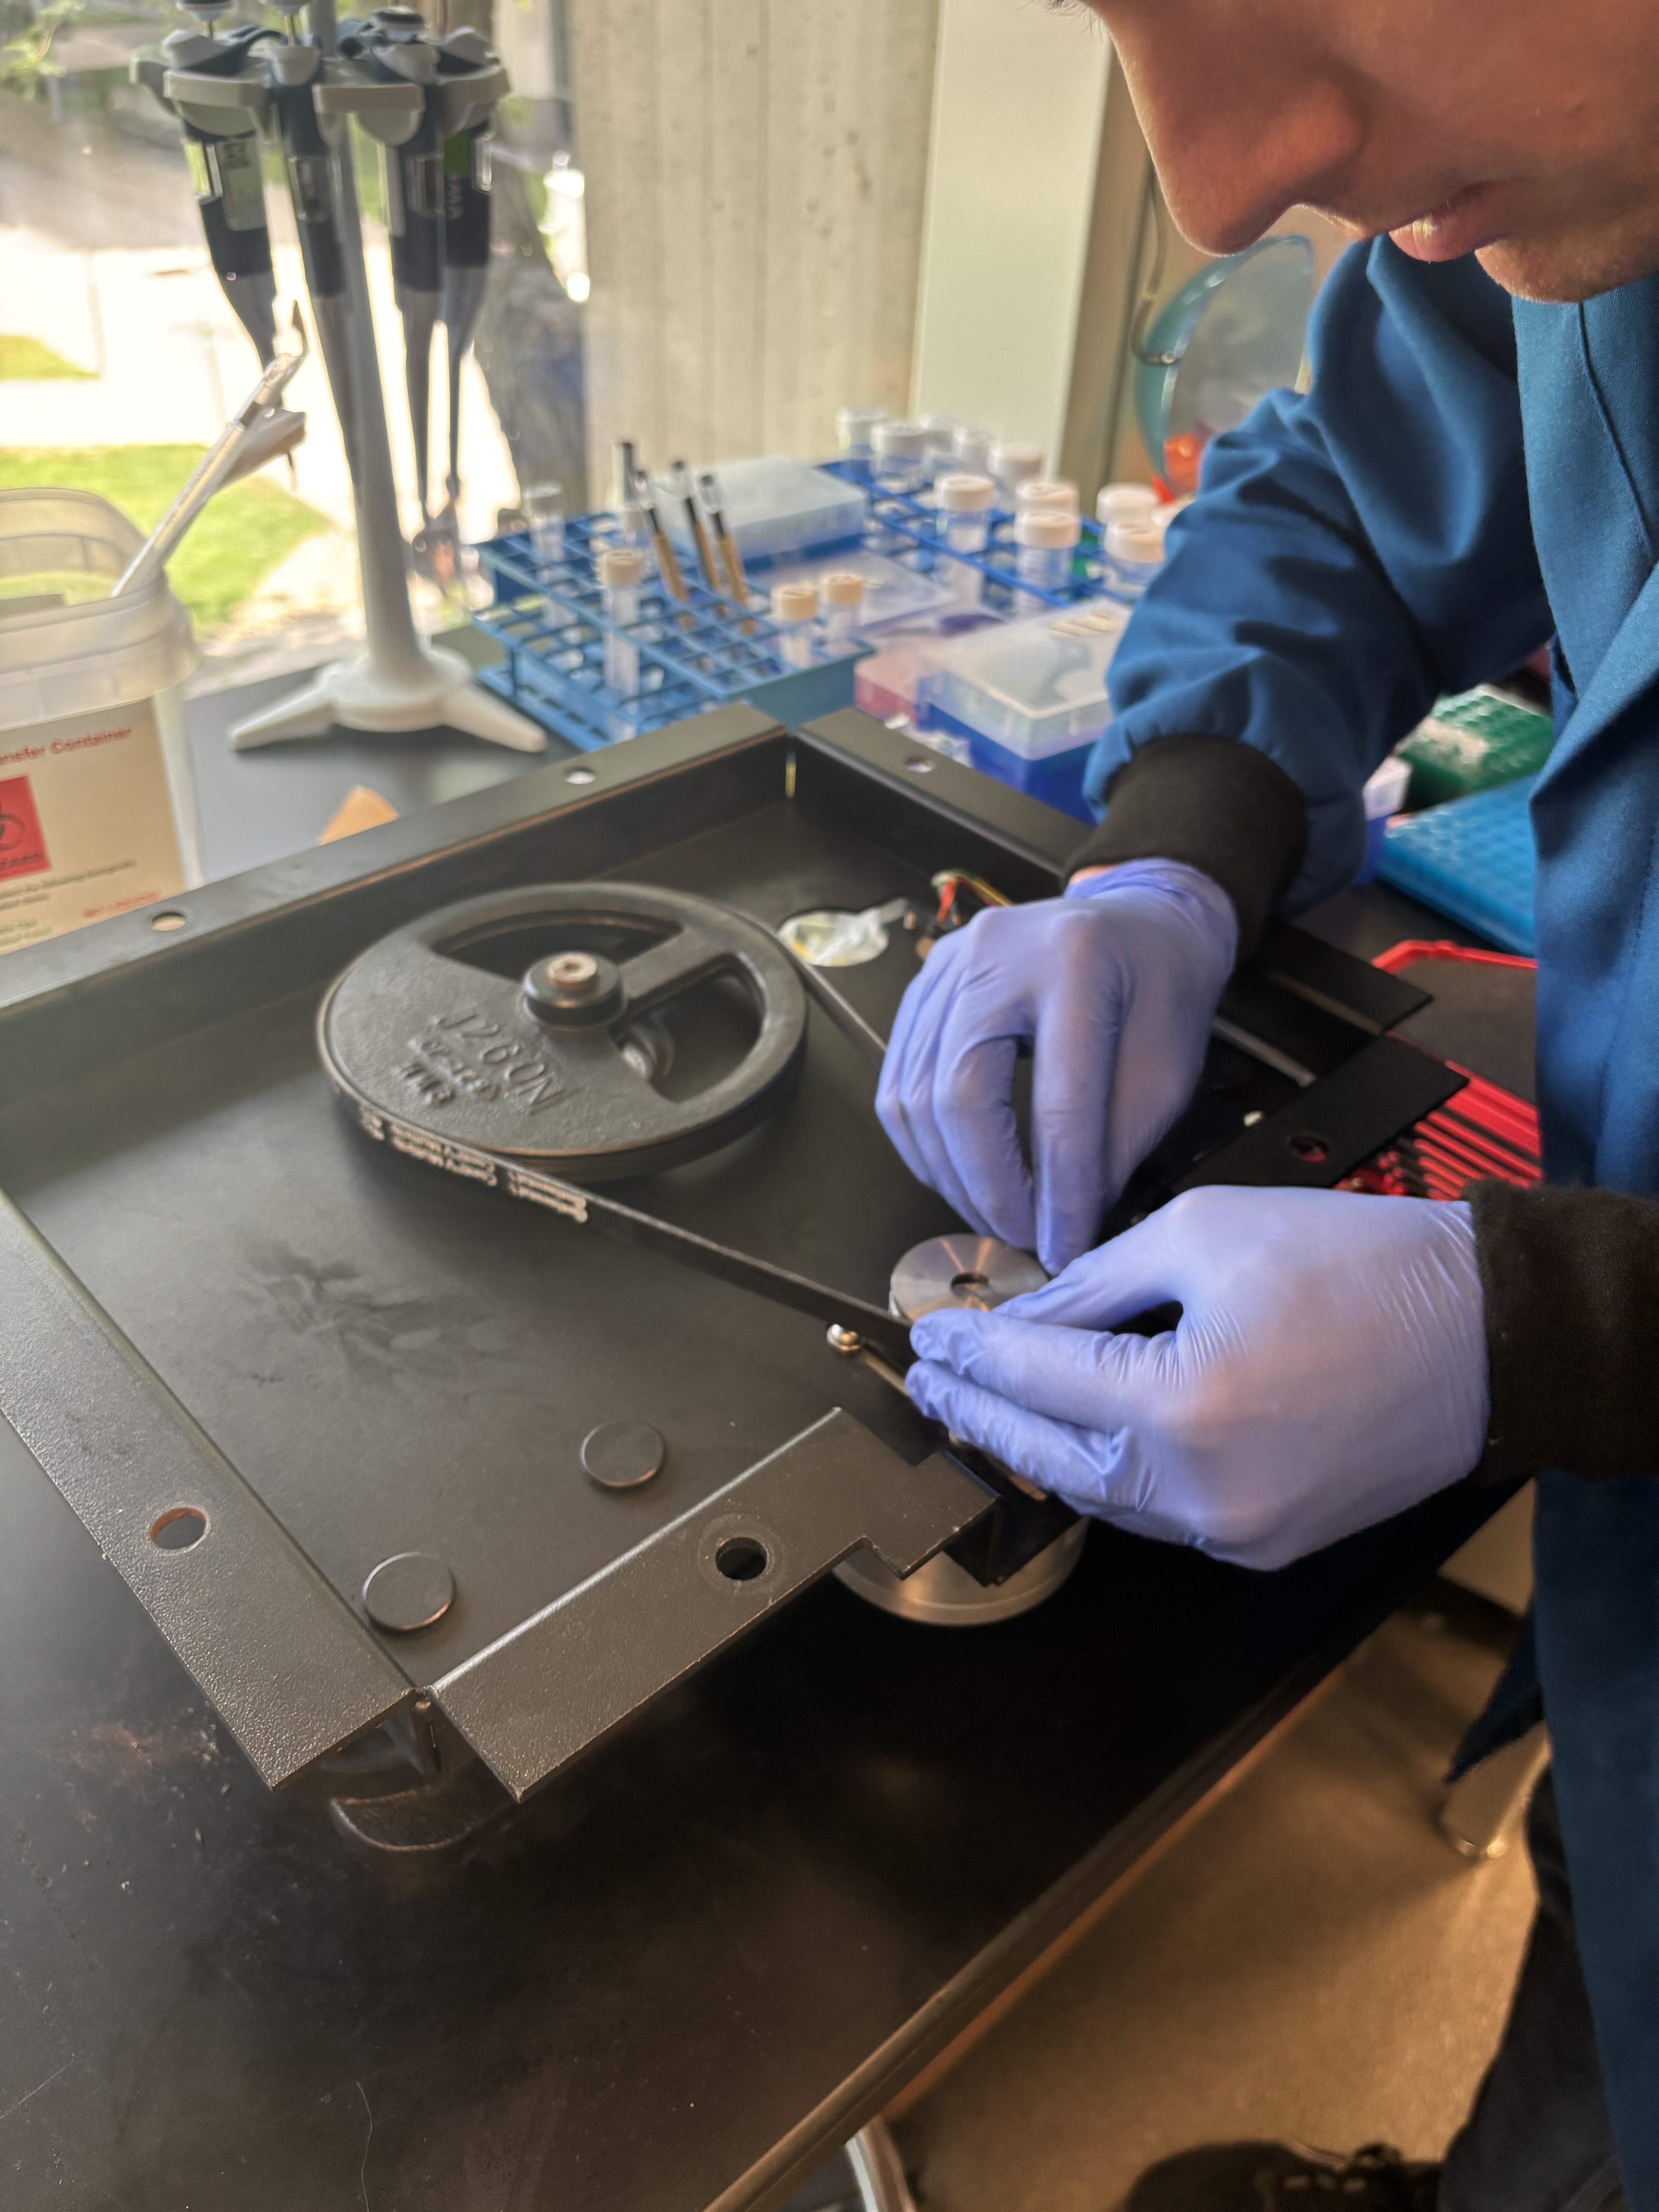
Place new drive belt around rotator and motor; be sure to adjust screws again to ensure the belt is taught.
Place motor assembly back in incubator, ensuring power supply is threaded underneath motor assembly and through the hole near the front, beside the power connection. Plug in power.
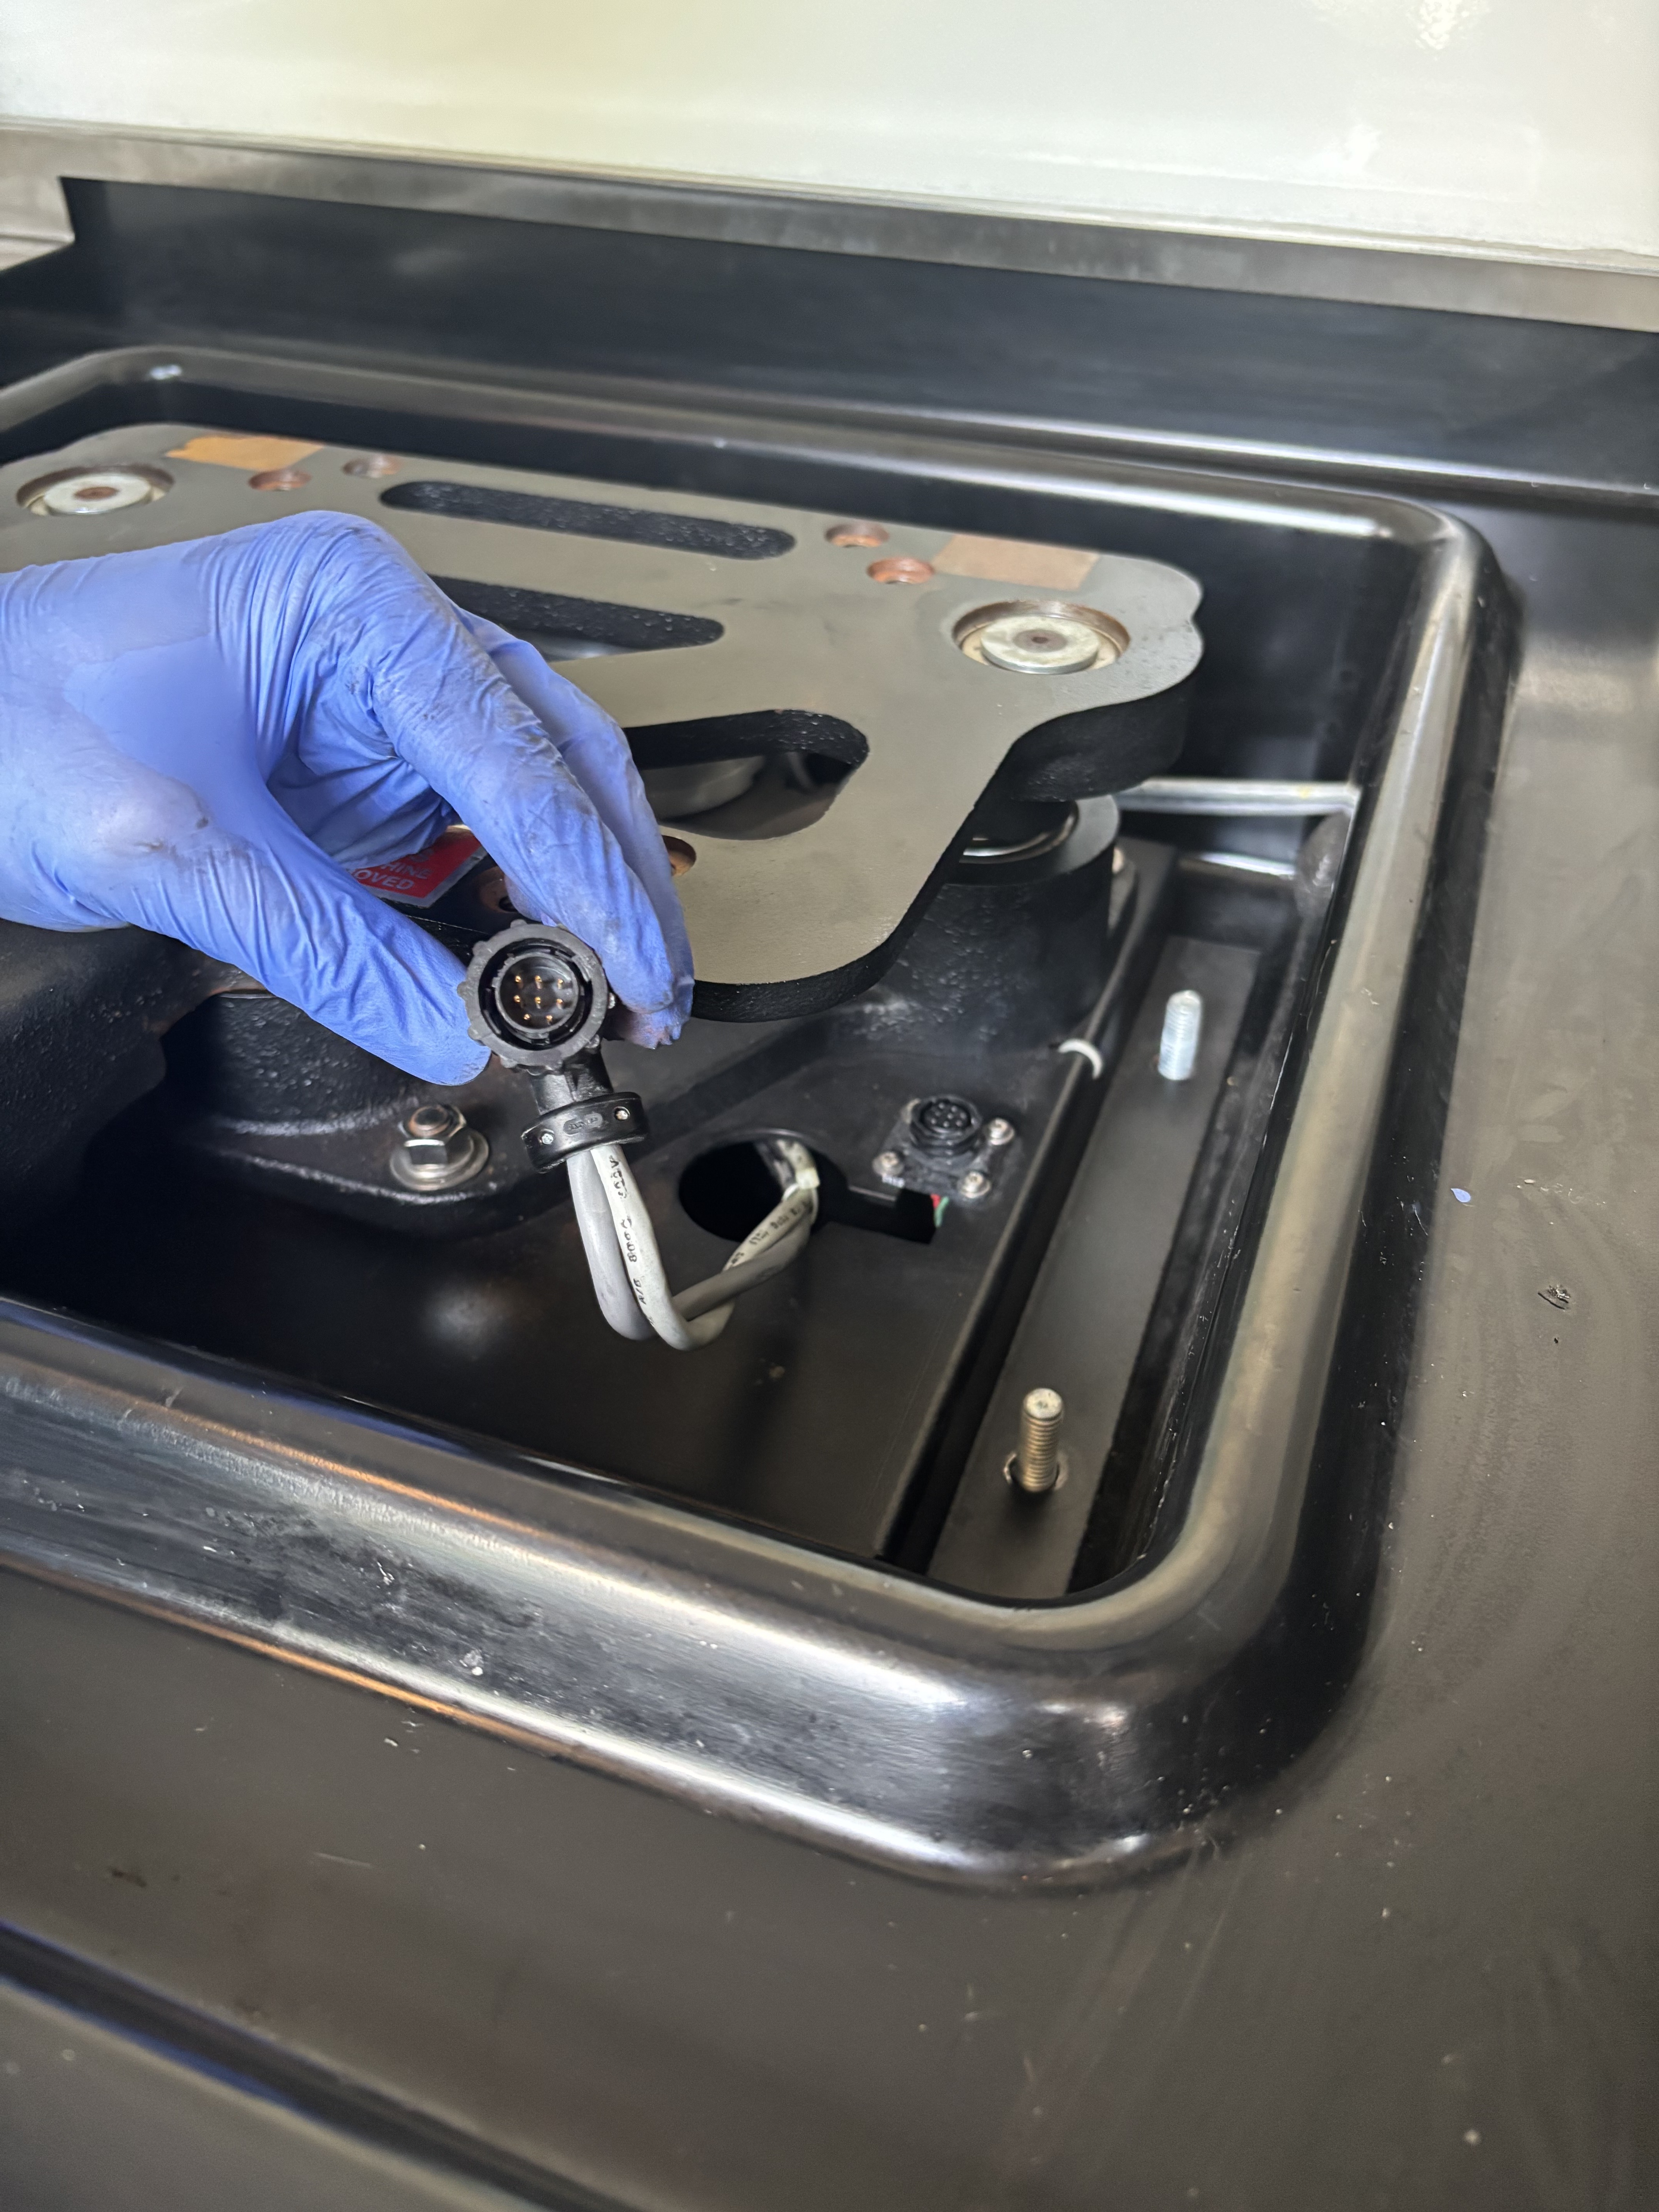
Note the 3-3-2-pronged orientation that must match when being plugged in.
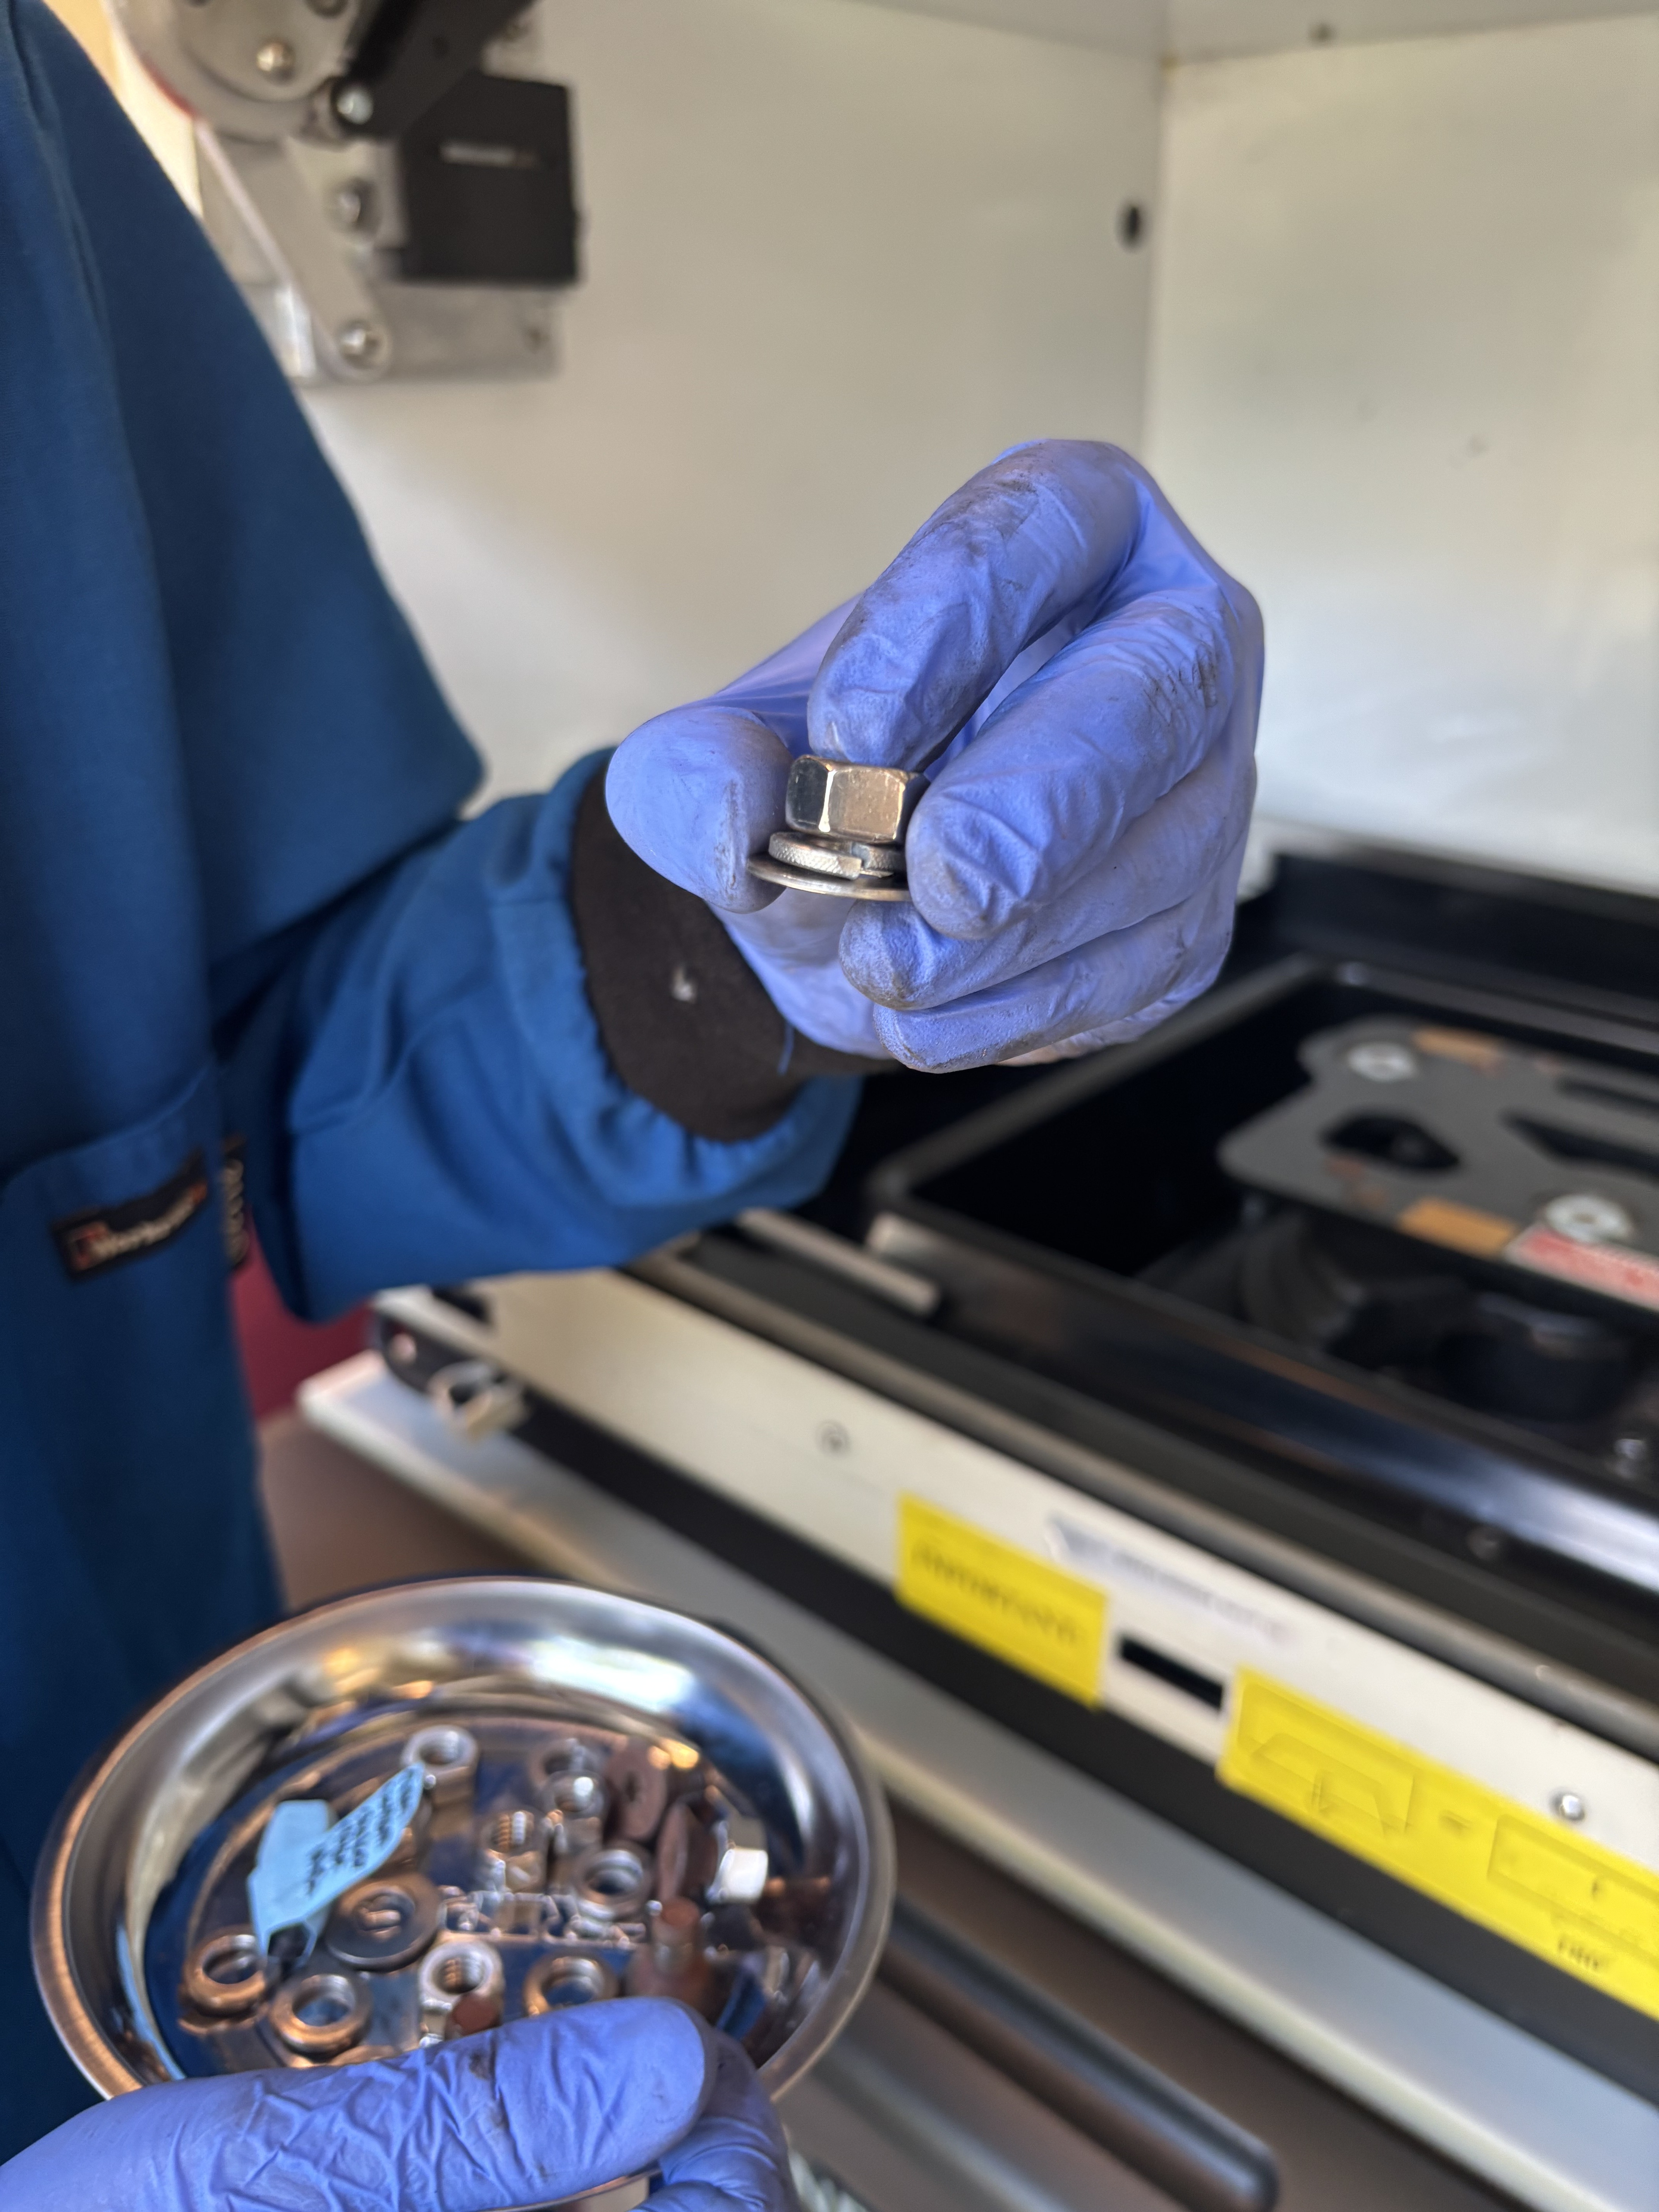
9. Secure the motor assembly with the washer + lock washer + nut 14mm combination shown below.
Place counter weight back in and turn on to confirm the incubator now shakes.
Warning
Do not turn incubator on without counterweight in place; it will unbalanced and possibly cause damage.
Turn off the incubator and replace the top cover.