Stale warning
This protocol has not been updated this year! Last update was on December 16, 2022.
High-quality PDF figure export
a.k.a. how to not have journals munge your figures.
Intro
Exporting high-quality, vector figures is a real challenge. Despite PDF being a world standard, even programs like Illustrator can struggle with exporting PDFs that render properly everywhere, like in the printing pipeline that journals use.
Even when things render properly, you can run into color problems. Converting your nice RGB or CMYK colors to colors that render properly across computers and also print in the expected color is an extremely challenging problem. It is mostly solved nowadays with color profiles, but convincing all of the various software to use standard profiles is hard.
Luckily, Adobe Acrobat includes a tool called Preflight which will solve most of these issues.
The workflow for generating high-quality figures that stay high-quality when postprocessed by journals is generally:
Make sure you aren’t using key drawing features that introduce problems.
Assemble your final figure in software that can export standard PDFs.
Export as a non-standards-compliant PDF. This is the normal default.
Use Preflight inside Acrobat to export a PDF X-1a PDF using the SWOP color palette.
Problematic features
Transparency/opacity
While transparency/opacity works well if you are making a figure that will just appear online, transparency causes many problems when preparing files to print. Don’t use it!
Transparency is not supported in the most standards-compliant PDF version. This is because the final post-processing steps need to properly assign colors, but there is not a good way to define what opacity fundamentally is when you have to represent both additive colors (e.g. your RGB monitor) and subtractive colors (e.g. printed inks on paper) in the same file.
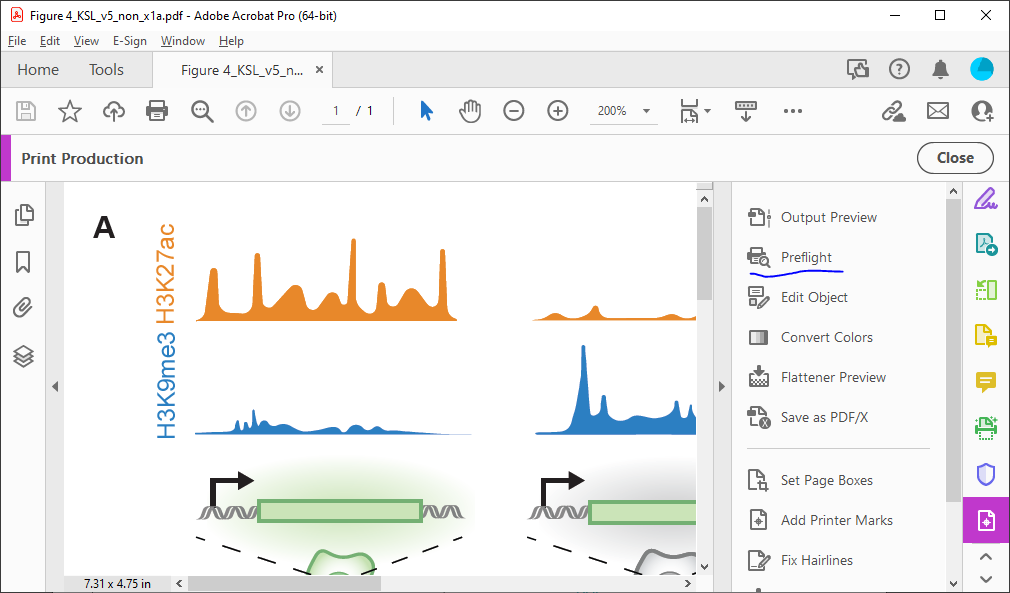
Because of this, regions overlapping partial transparent regions will often get rasterized when sent to the journal. Sadly, here’s an example from the final published version of our first review:
Gradients/blurs
Blurs are often used to give some 3D feeling to objects. Gradients are fine, but you should do these with the explicit gradient tools. Other Illustrator or Inkscape methods to make color gradients, such as a Gaussian Blur tool or similar, are raster operations and will cause your beautiful vector graphics to be rasterized.
Final figure export
Illustrator
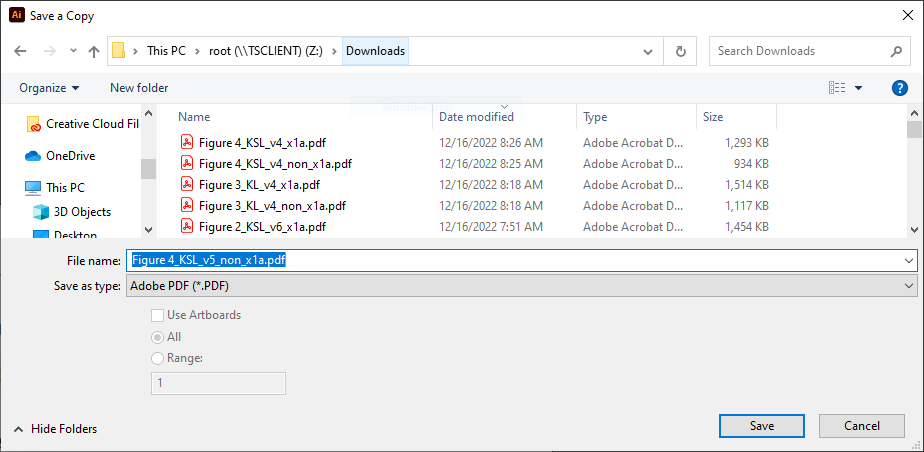
When exporting from Illustrator, hit “Save a Copy”, and switch the output type to PDF.
When you get to the export screen, make sure you select [Illustrator Default] as the output type:
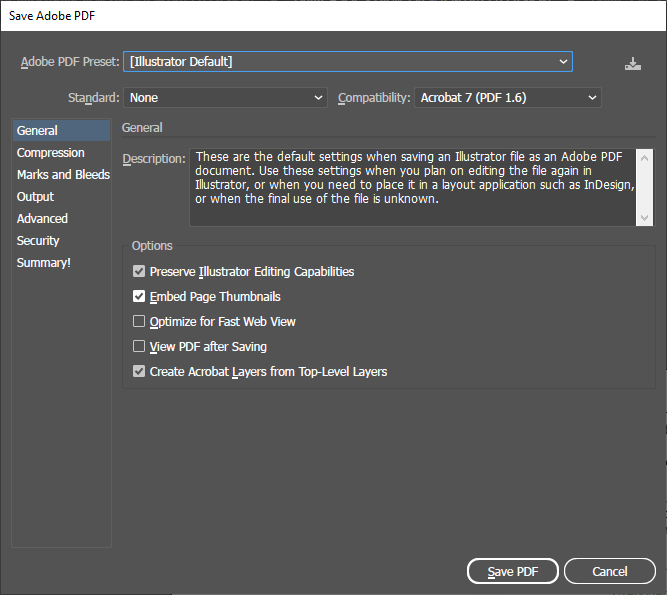
Illustrator does have an option to directly export a X-1a PDF, but it sucks at doing so for some reason (it rasterizes things that should not be rasterized). Do not export in a mode other than the Illustrator default.
Matplotlib/Python
Doing plt.savefig with a .pdf filename is sufficient.
Preflight
Open up the exported figure in Adobe Acrobat. Sanity check your figure to make sure that there wasn’t errant rasterization or other problems.
Under your tools tab, hit “More Tools” and hit “Add” below the Print Production option to add this set of tools to the access bar.
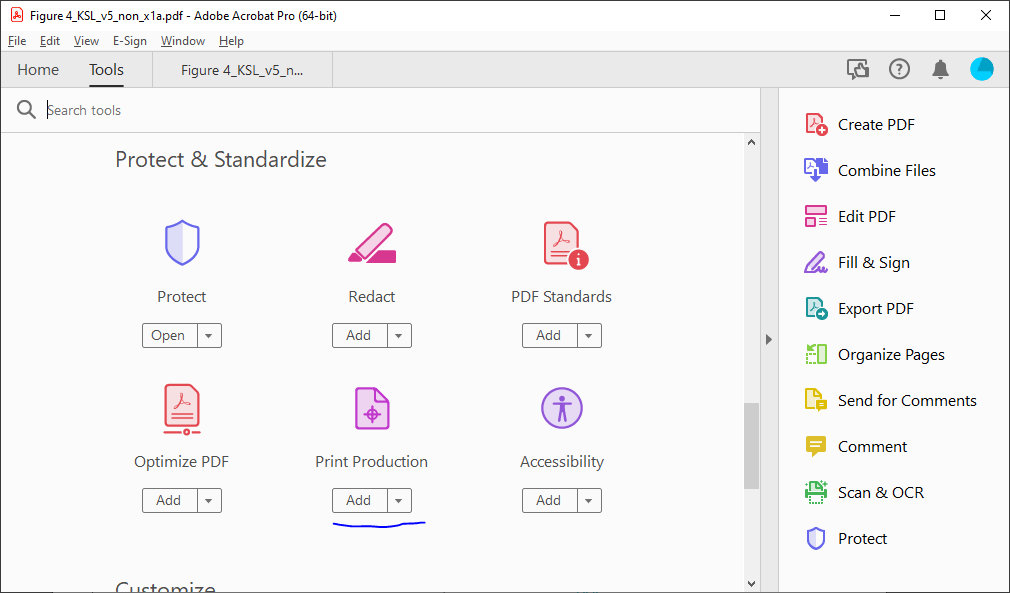
Click Print Production to bring up the tools, and hit “Preflight”:
If this is the first time you have opened an advanced print production tool, Adobe may have to download some extra data before the window comes up.
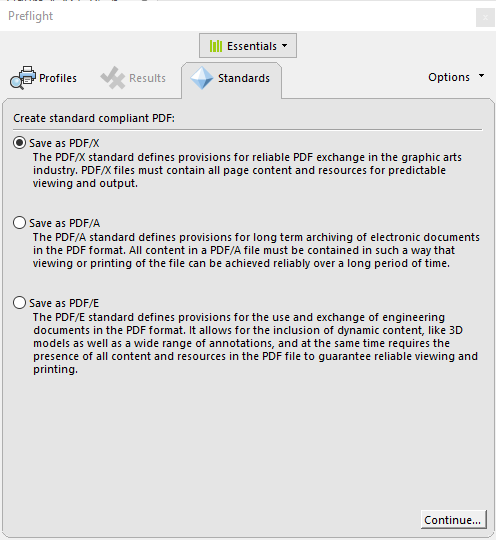
Click the “Standards” tab at the top. Select “Save as PDF/X” and hit continue.
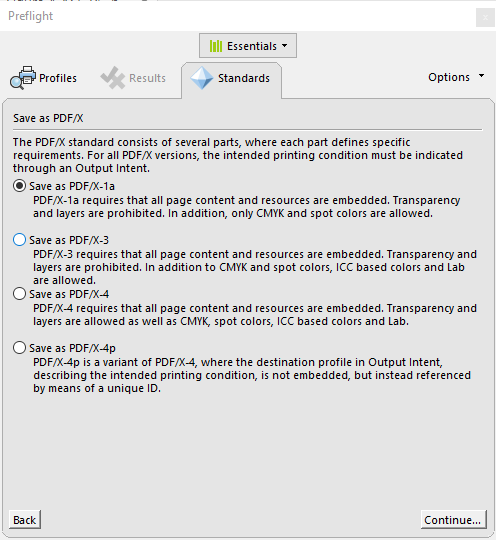
Select the first option, “Save as PDF/X-1a” and hit continue.
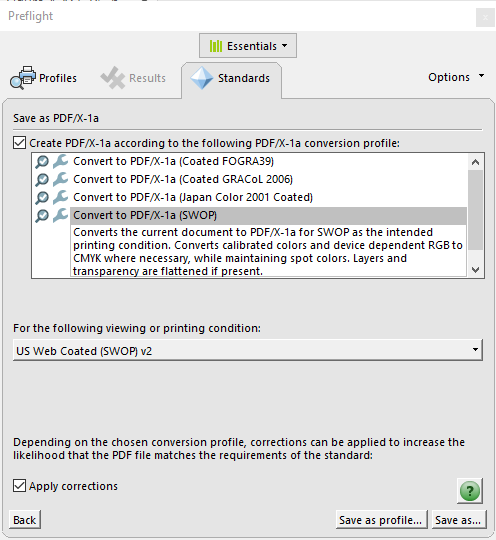
Check the checkbox, and scroll down and select the “Convert to PDF/X-1a (SWOP)” profile. Hit “Save as..” and select a new filename (we suggest fig_name_x1a.pdf so you can tell which files have been converted).
Note
SWOP originally was a US color profile. If publishing in international journals, carefully check the colors in your proofs. If they are off, you may want to resubmit using the FOGRA39 color profile (or see if you can ask someone which profile their production team uses).
In general, this shouldn’t be a problem, as production staff should be able to use whatever color profile, as long as it is standardized.
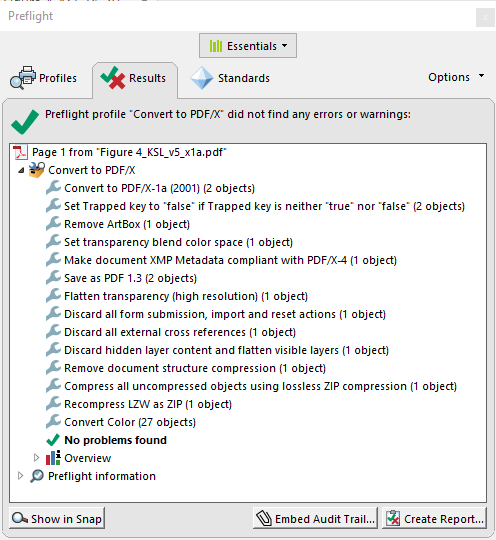
Watch Preflight convert. You should see a successful run. If you don’t, you should have some error messages telling you what to fix. By far the most common source of conversion errors are transparency and deeply nested clipping groups.
By clicking on an error, you can hit “Show” to see where the problematic element is.
Sanity check the converted X-1a PDF, for rasterization and other problems. Edit your source file to remove transprency or other problems and repeat these steps until you are happy with the X-1a version.
Submit the X-1a versions to the journal. A successful X-1a export practically guarantees that your figures will appear in the proofs as desired, with the correct colors.